4th of July Barbecue
The 4th of July, Independence Day, has turned into a day of fireworks and backyard barbecues over the years. Thankfully I am not in a country that celebrates the 4th of July as its Independence Day, but that does not mean I can not talk about barbecues.
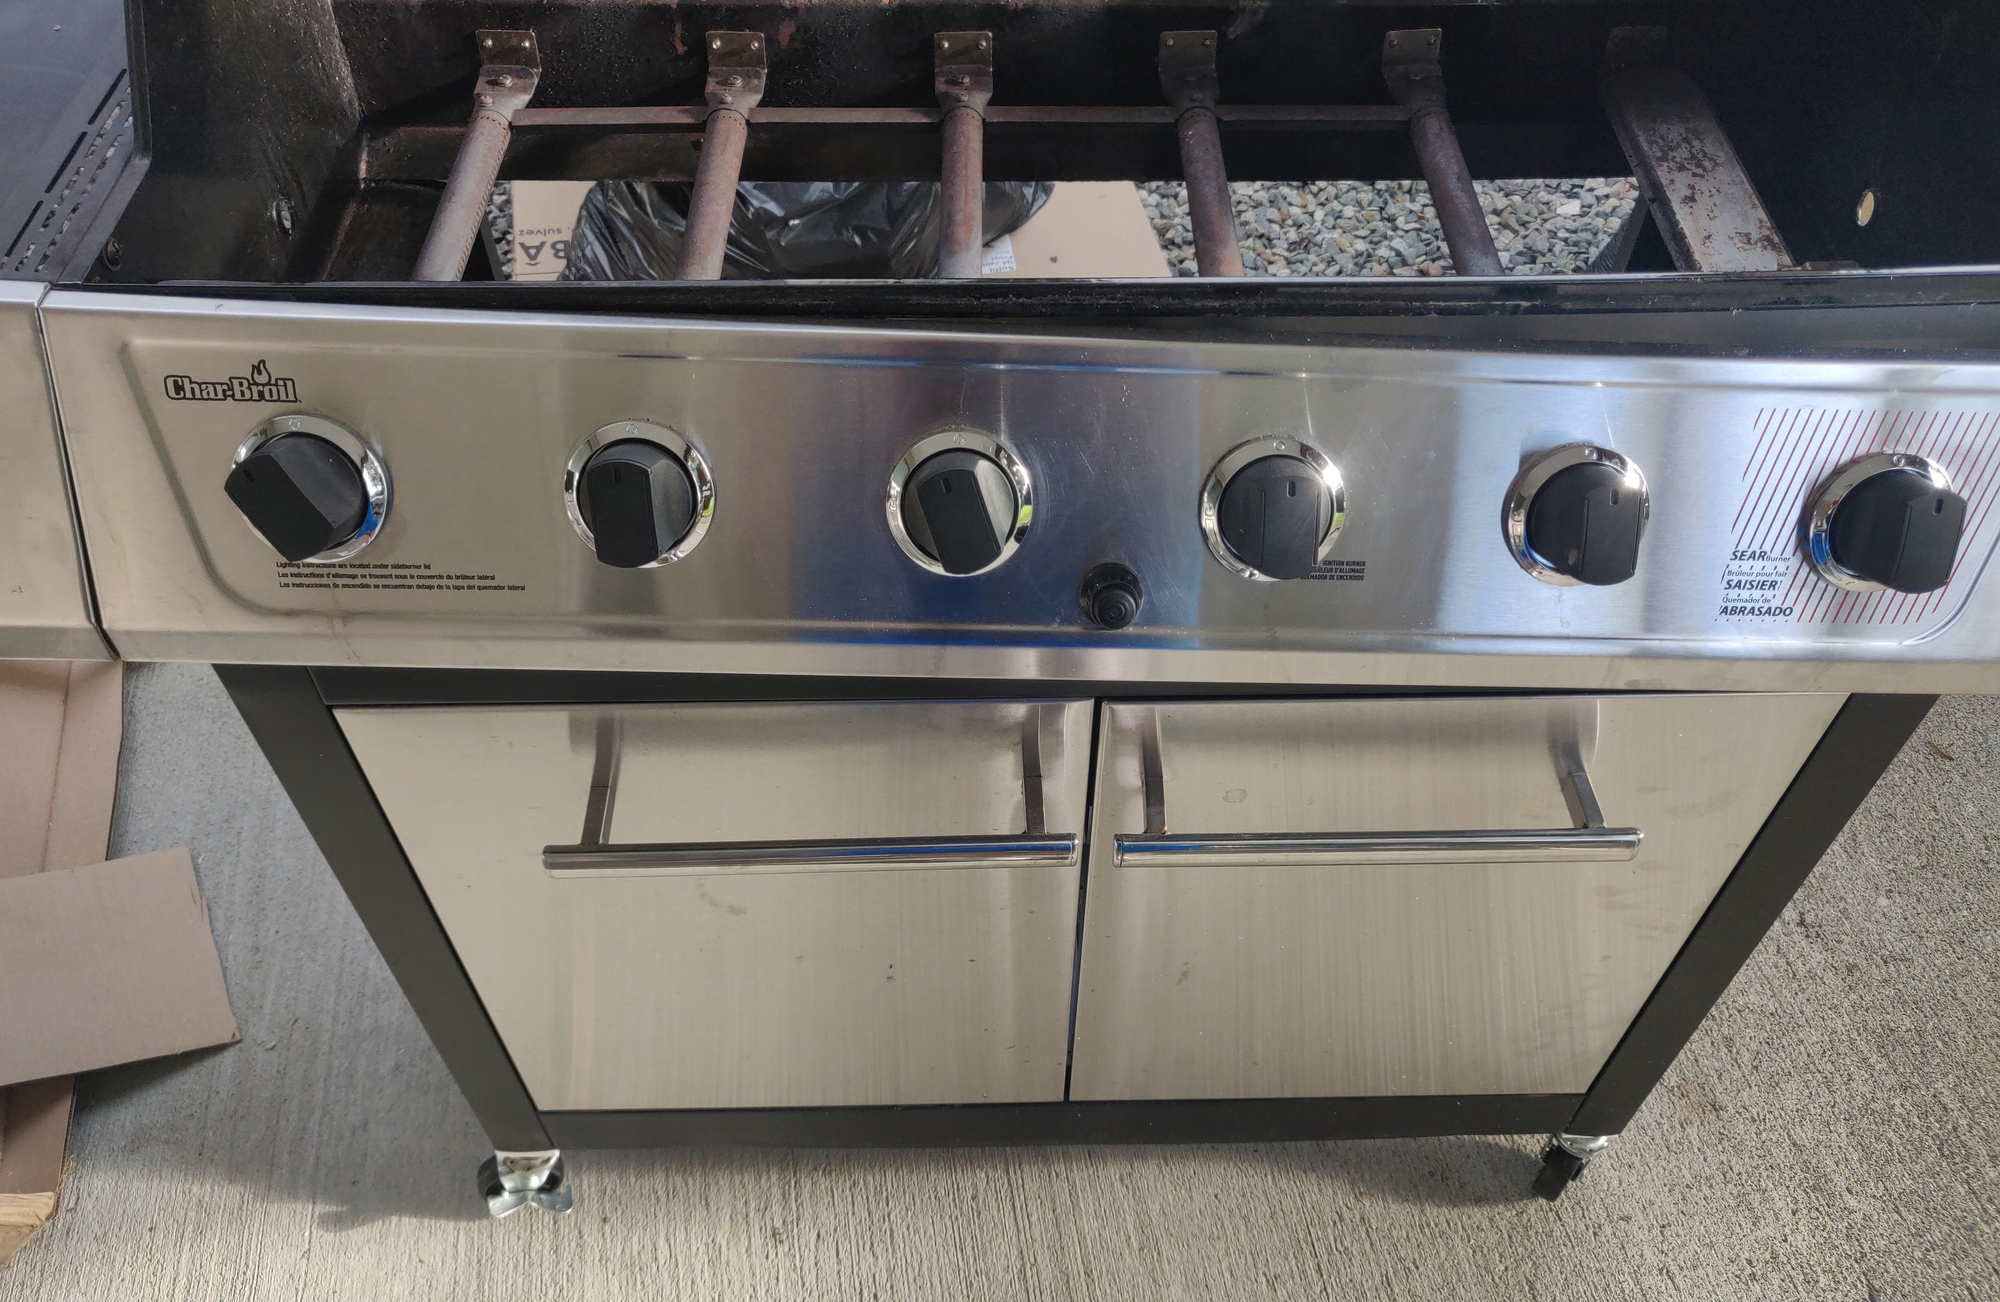
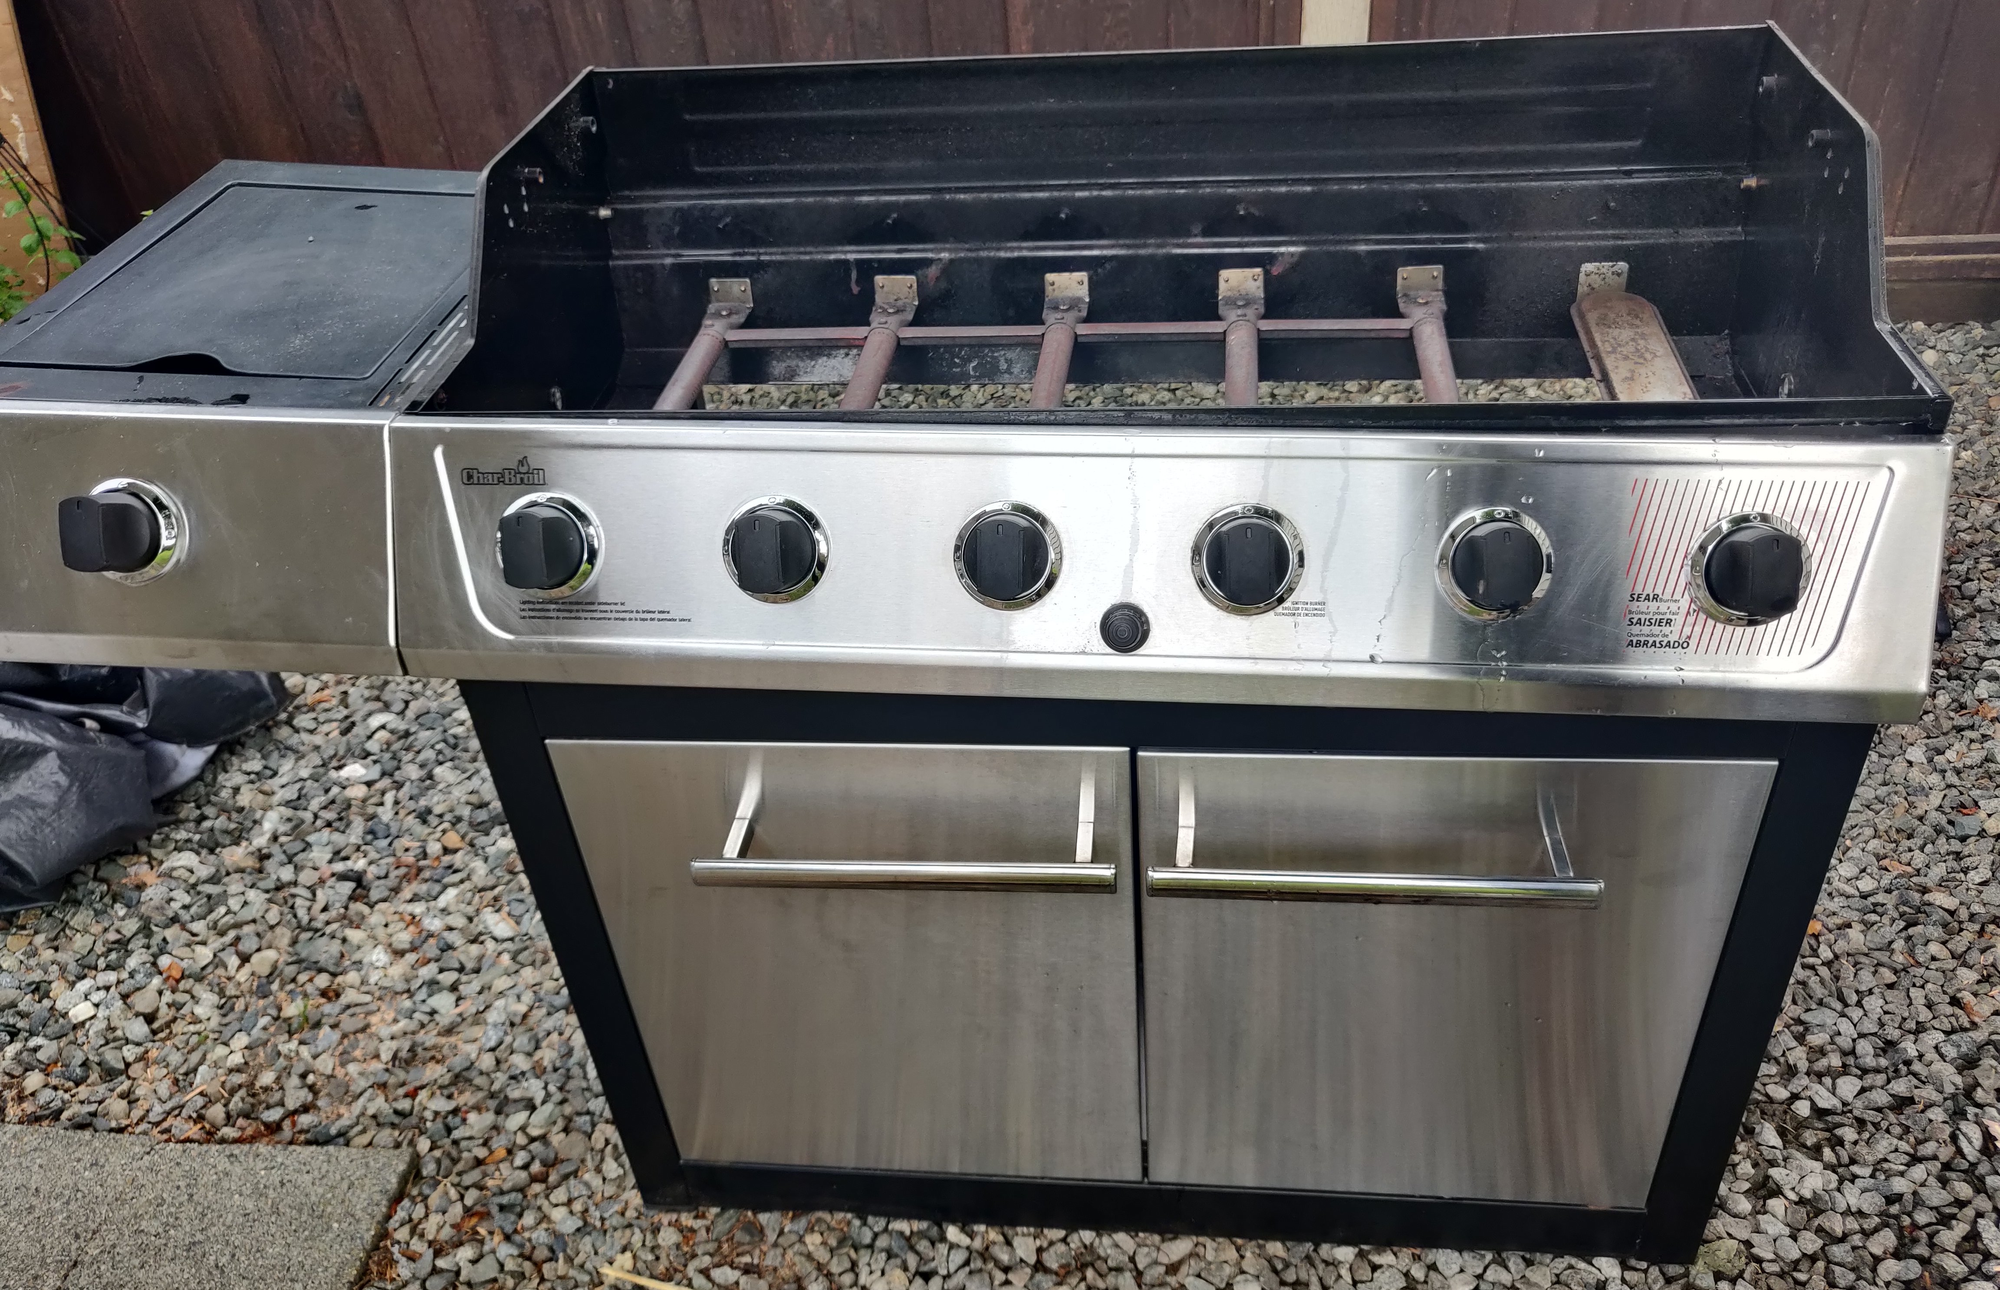
Specifically, Charbroil barbecues. More specifically, this partially-assembled Charbroil barbecue:
Here is a random photo of a brand new Charbroil barbecue taken off their website:
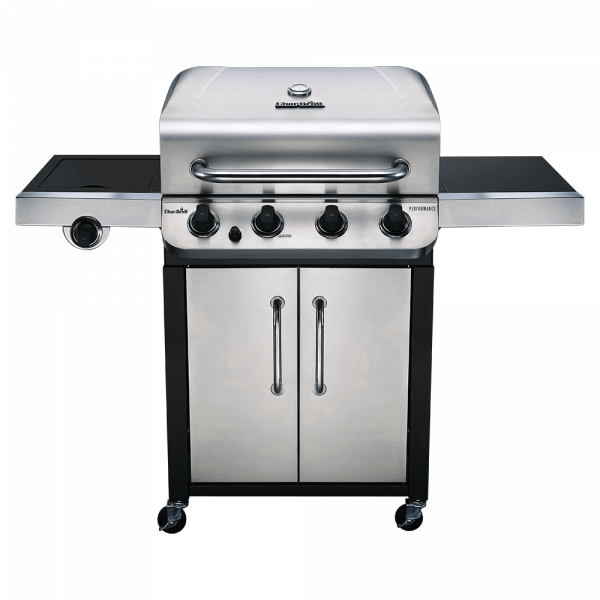
Aside from being fully assembled, new, and in my possession, there is one major difference between these barbecues: The second one has wheels.
The first one used to have wheels, but one has long since fallen off. If you have ever tried to use pretty much anything with 3 wheels when it was intended to have 4, it is not the best of times. With a second wheel starting to fall off all of the wheels were taken off and put aside many years ago. This 4th of July however, the wheel problem is being revisited.
What you can not see in the photo above is each corner of the bottom frame is hollow, and has an insert of rubber-like material jammed inside and secured with a bolt through it, with some threads through the hard rubber for the caster to screw into. Unfortunately these threads are the part that has failed, and the insert has to be replaced.
Initially it did not look like a problem as Charbroil sells the replacement insert (G-408-0036-W1) for $2.99 USD. While ground shipping across the US is as $4.99 fee, the same can understandably not be said for Canada:
$50 CAD on a replacement part just is not in the budget for this type of issue. There are other online resellers of course, with varying price + shipping charge (I have done no research on the legitimacy of some of these sites):
ereplacementparts.com: $24.99 USD
bbqpartscanada.com: $18.96 USD
But none of those hit a price point (or more importantly, a delivery date) that I am very interested in. It is certainly not the fault of these websites that shipping things from the US into Canada (or shipping in general at the moment) is so expensive, but I was quite disappointed at the lack of Canadian stores that had the part in stock. Granted, when was the last time you went to the hardware store looking for a replacement caster socket for your barbecue?
One website though, fix.com, lists the following in their product description:
This is an authentically sourced OEM caster socket for a gas grill, also known as a leg extender. This plastic socket is sold individually. It is designed for a rectangular steel tube leg, and is what attaches the caster wheel to the grill frame. Where the caster screws in, it measures 1-Inch by 2-Inches. The insert is 2-1/16-Inches from the top to the bottom, and it accepts a 7/16-Inch threaded caster. To attach this socket to the grill, use a bolt and nut (sold separately) to secure it to the metal leg of a cart side panel. Next, bolt in the bottom of the socket.
A 7/16-inch threaded caster you say? Now I have printed threaded components before, and they do not work out all that great. One thing I have not done to this point however is use a tap to cut threads into a printed component. This sounds like the perfect opportunity to both buy a tap set and give it a try and I am all for spending $45 on tools to solve a $4 problem.
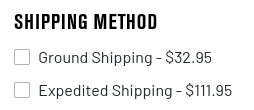
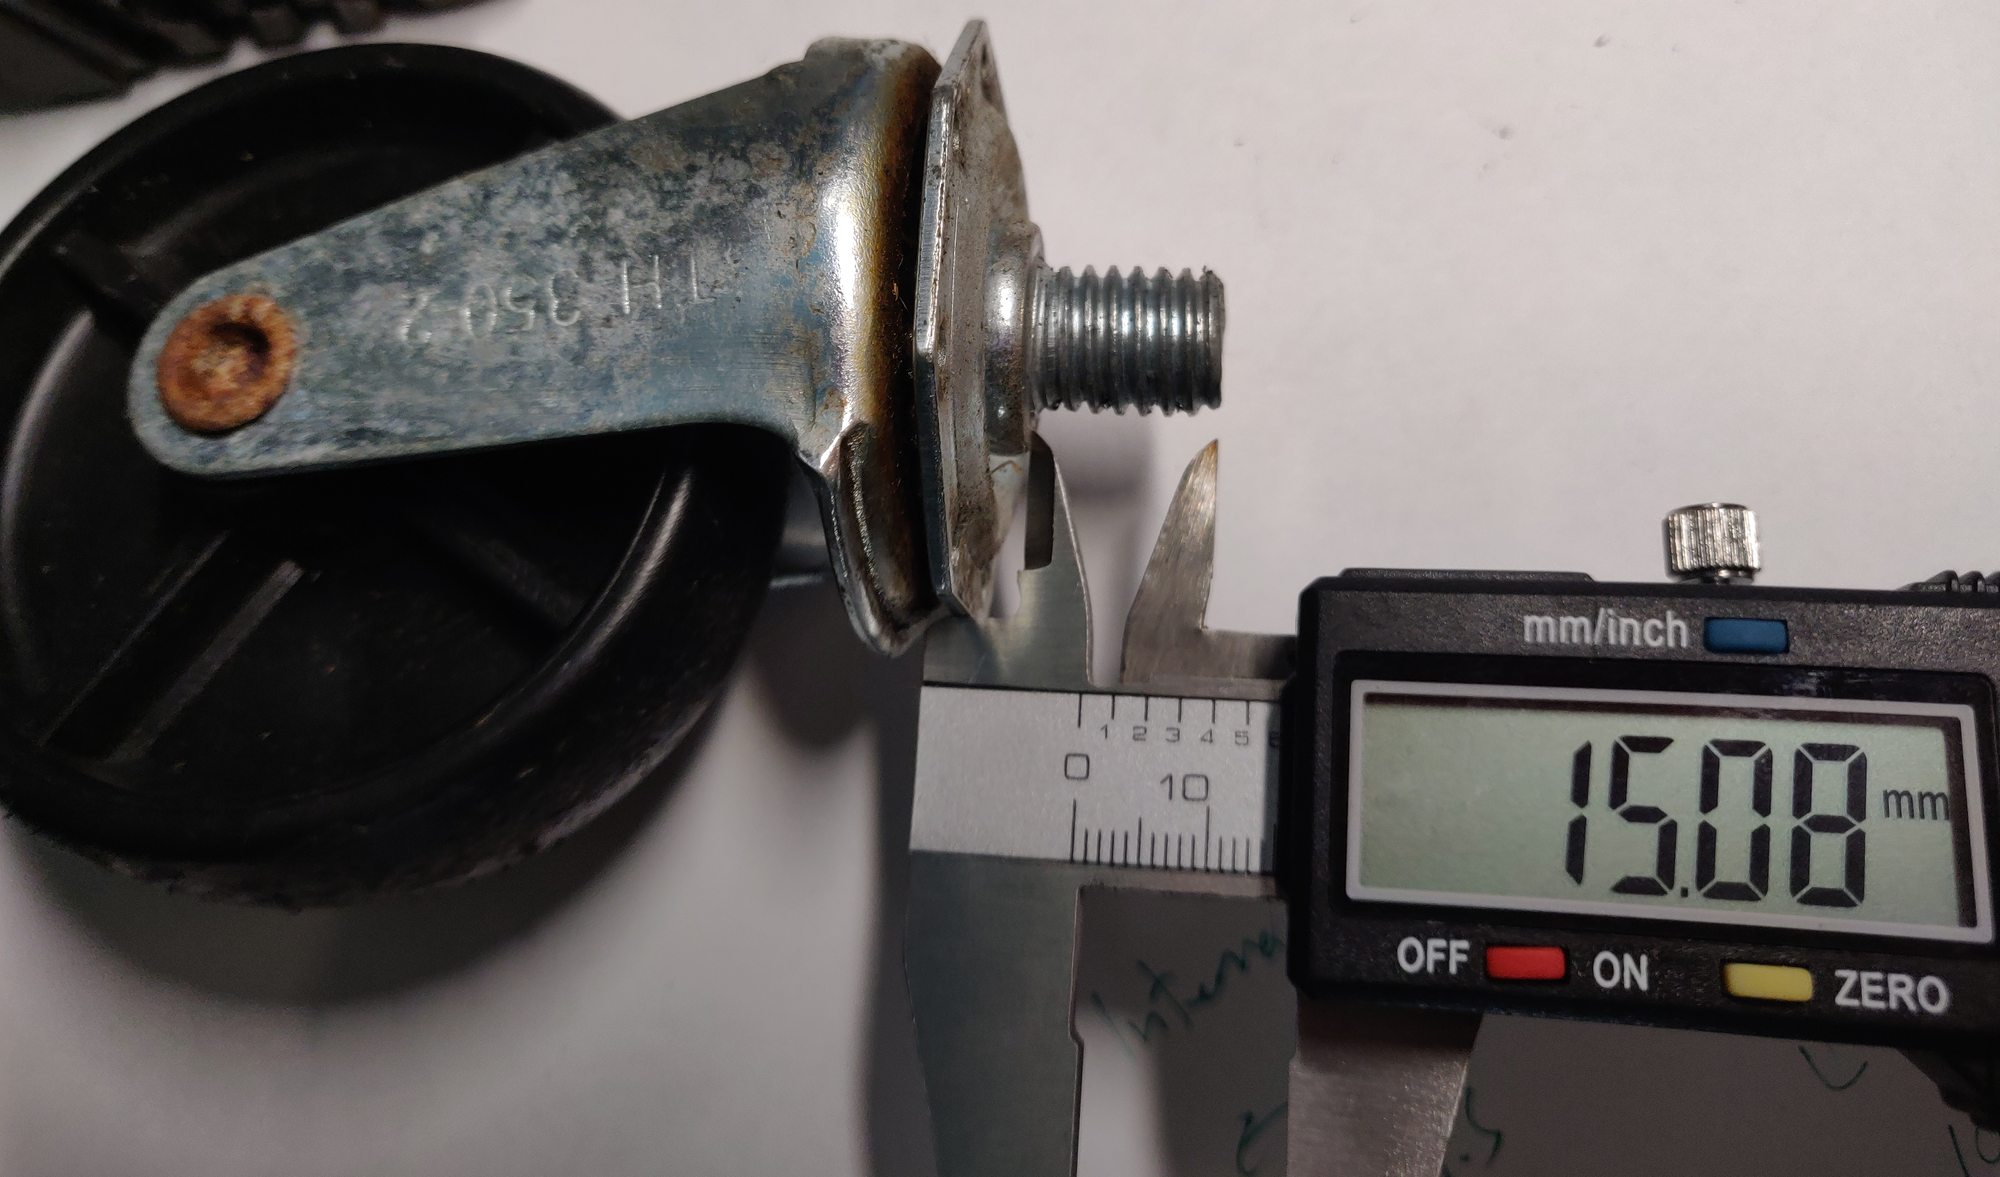
Thankfully, the dead socket is still inside the barbecue after all these years. With a bit of prying, its malformed shape is going to have to serve as the baseline for what might be a couple iterations of measurements to get this right:

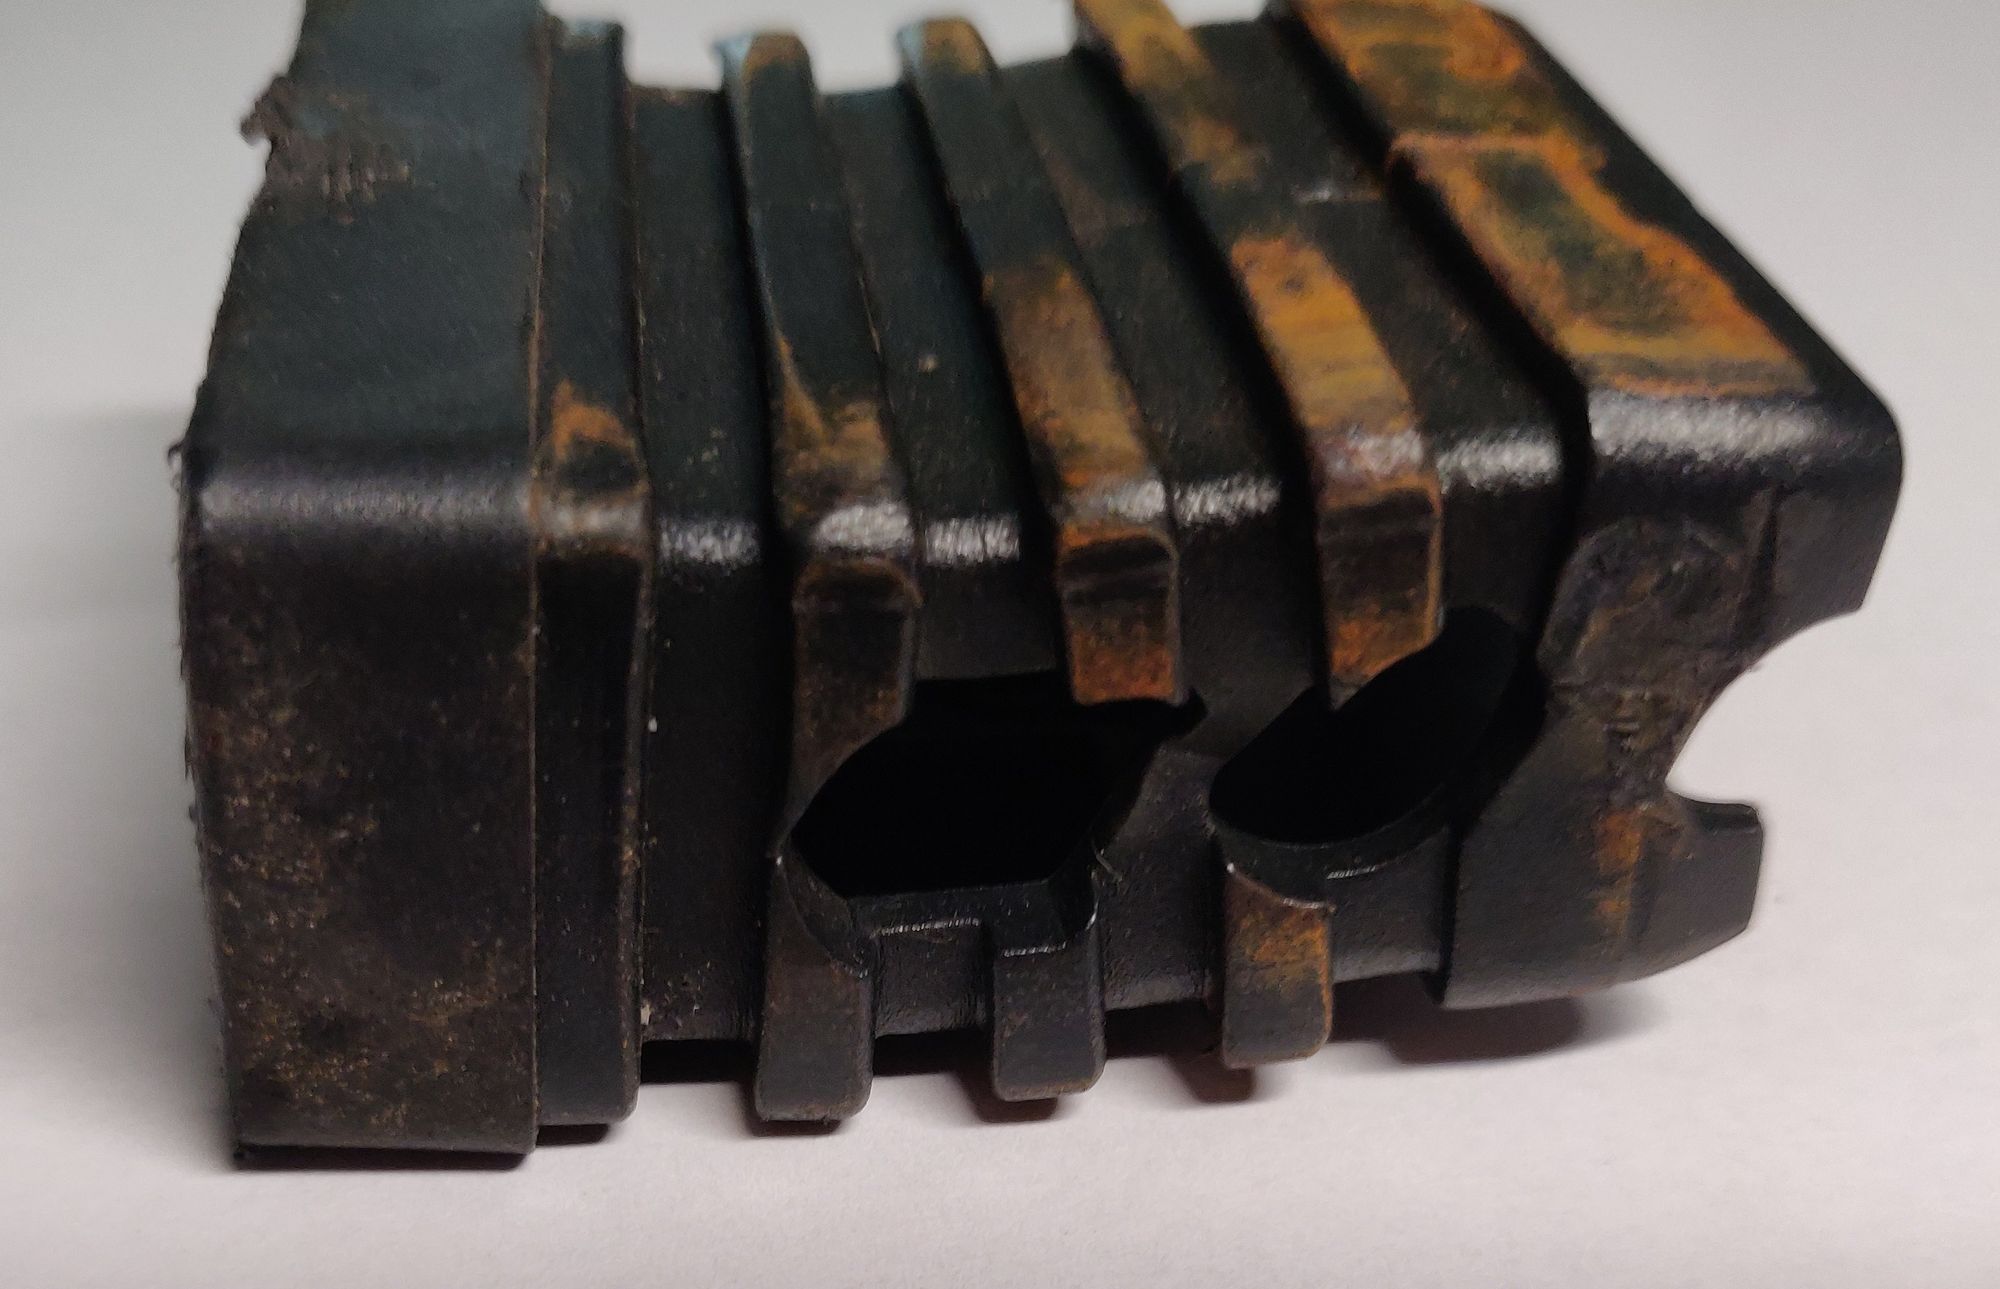
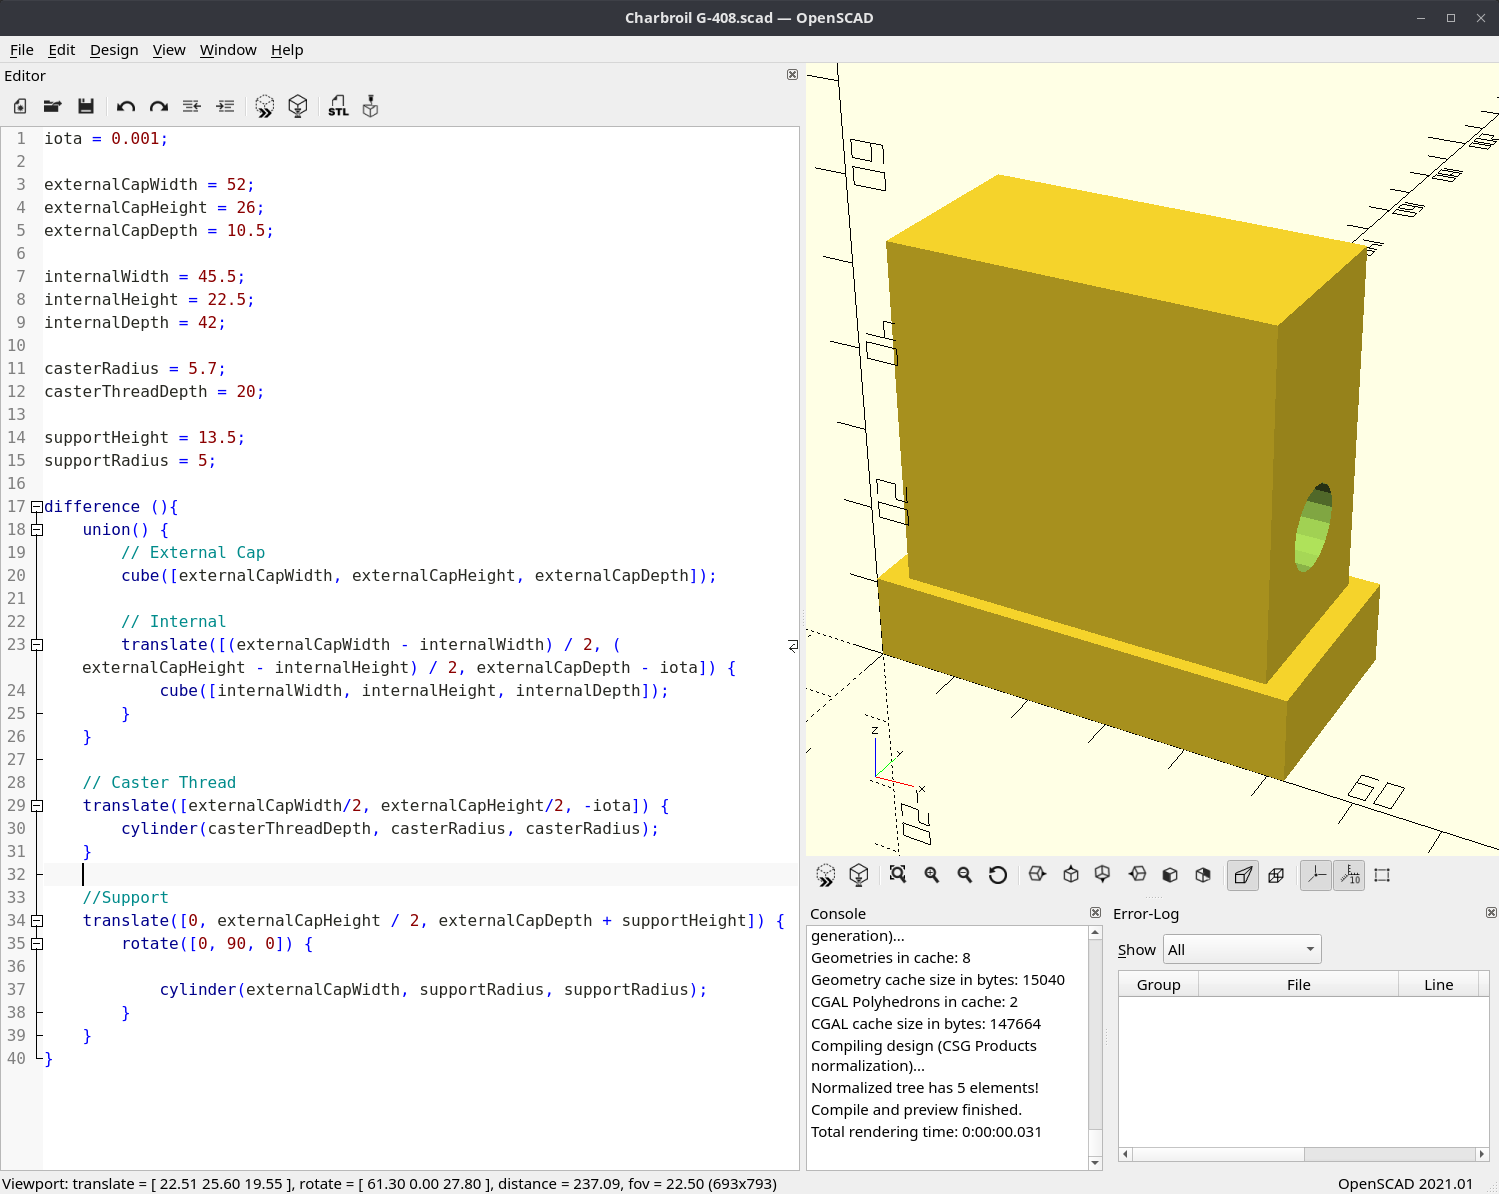
Looking at the component here, there are 4 main pieces to this puzzle:
- The bulkier cube that sits outside the barbecue
- The slightly thinner cube that sits inside the barbecue
- The removed cylinder where the caster will eventually be screwed into
- The horizontal cylinder that the securing bolt will eventually pass through (In this barbecue only the first of the two horizontal holes is used)
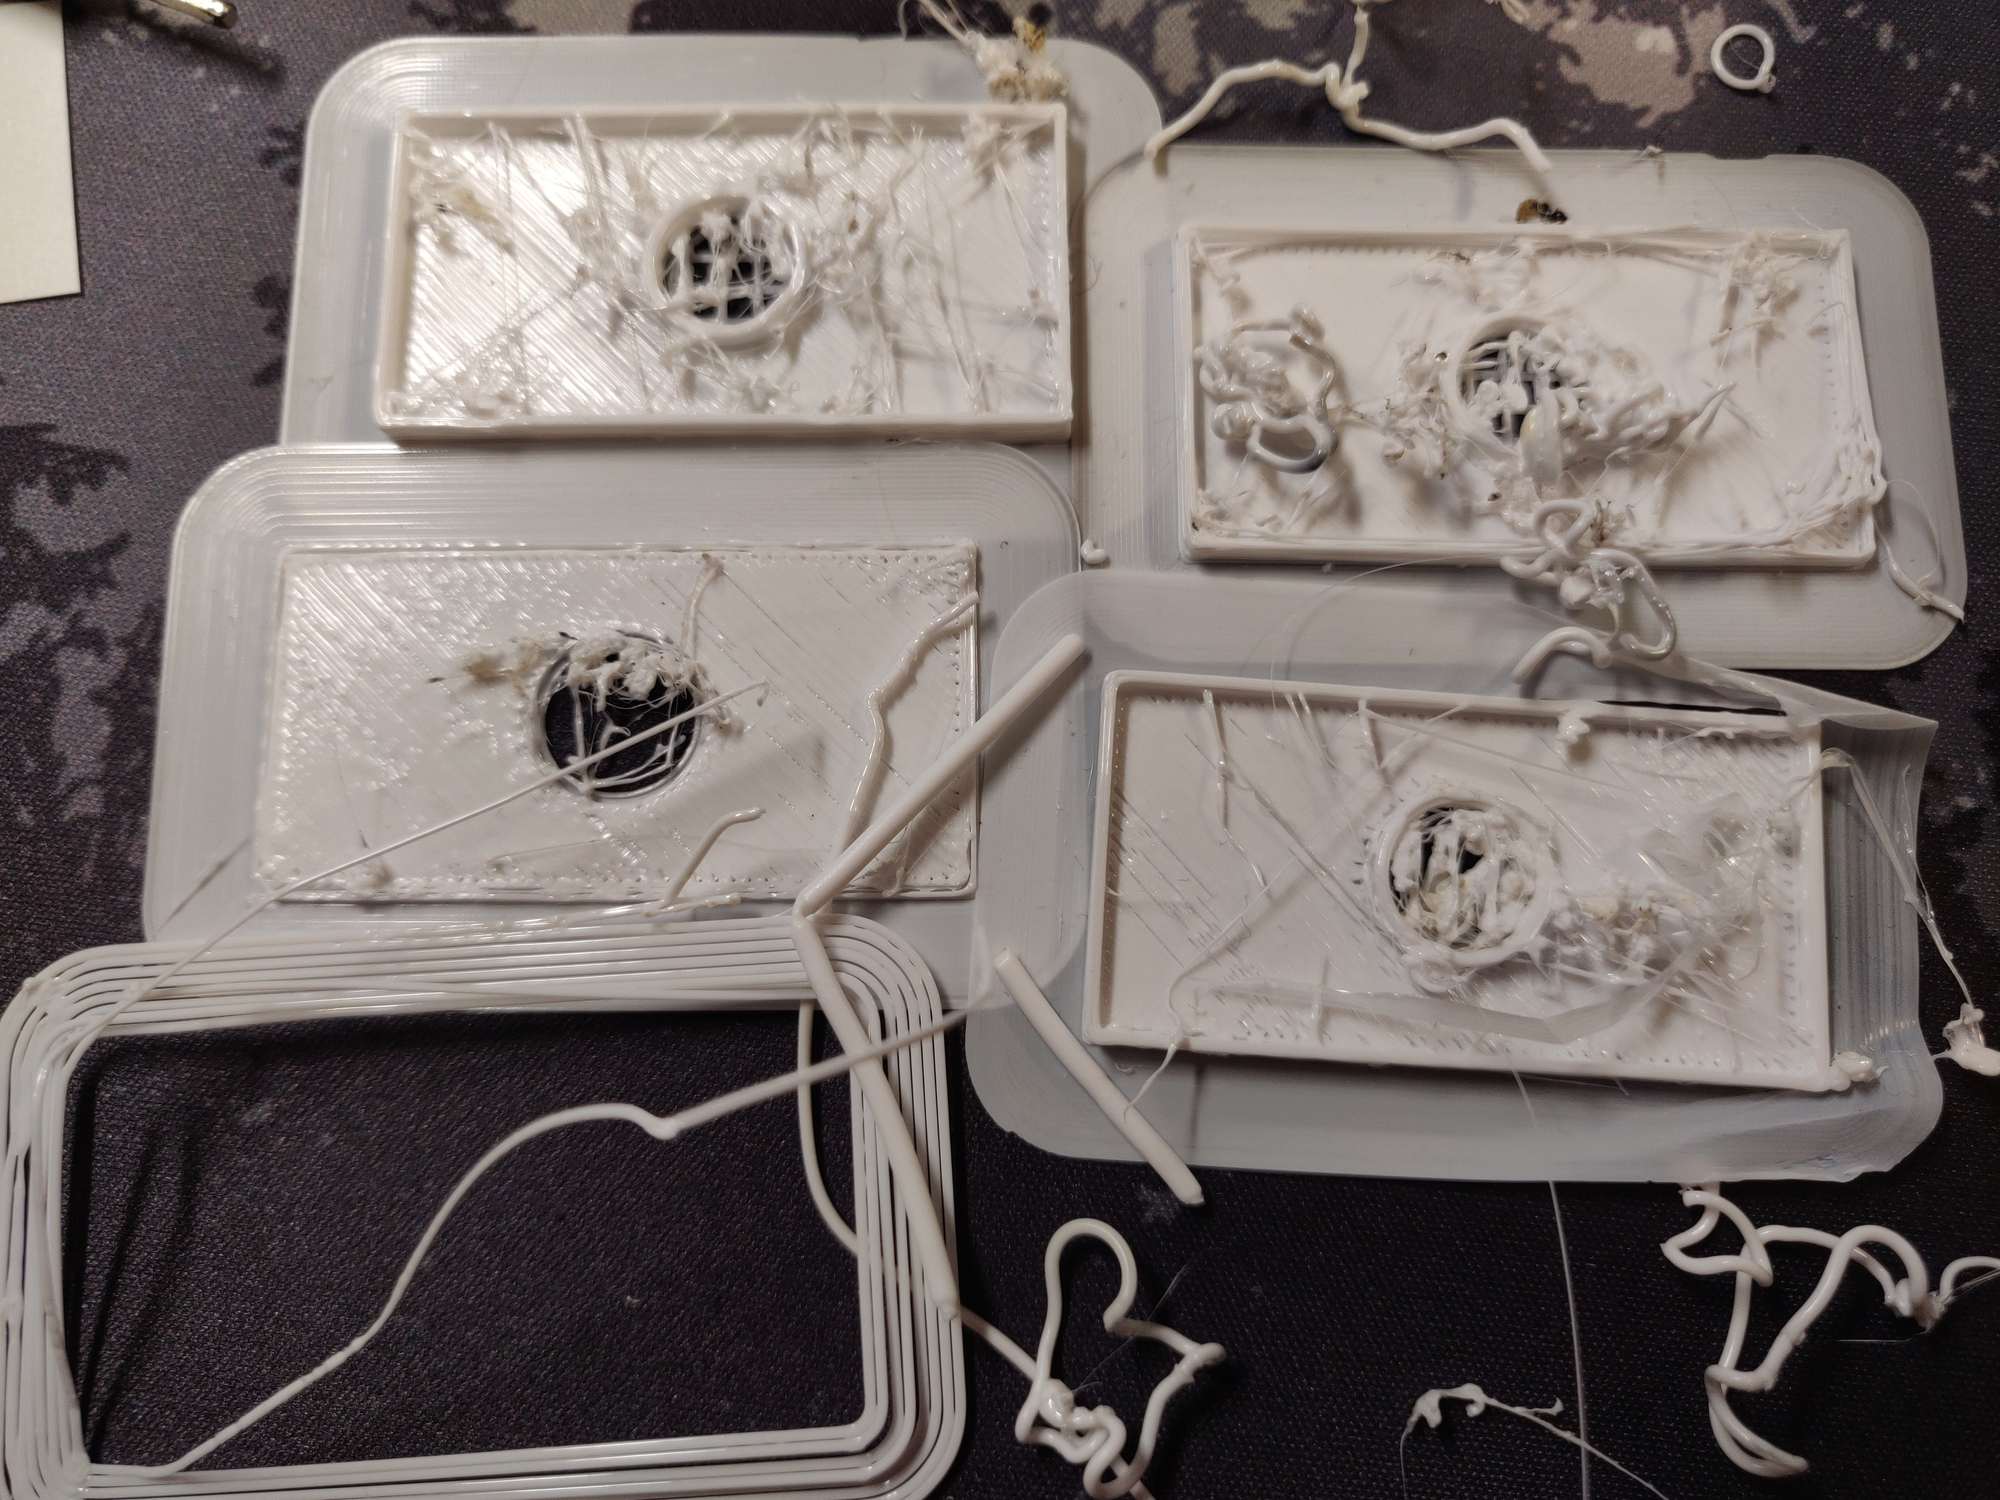
Because of the state of the socket insert here, these measurements are not going to be very exact. However, they should be a starting point that can be used to get things going. Waste concerns aside (on Independence Day?), we can print as many different variants as we need quickly, as long as we lay out the OpenSCAD file properly.
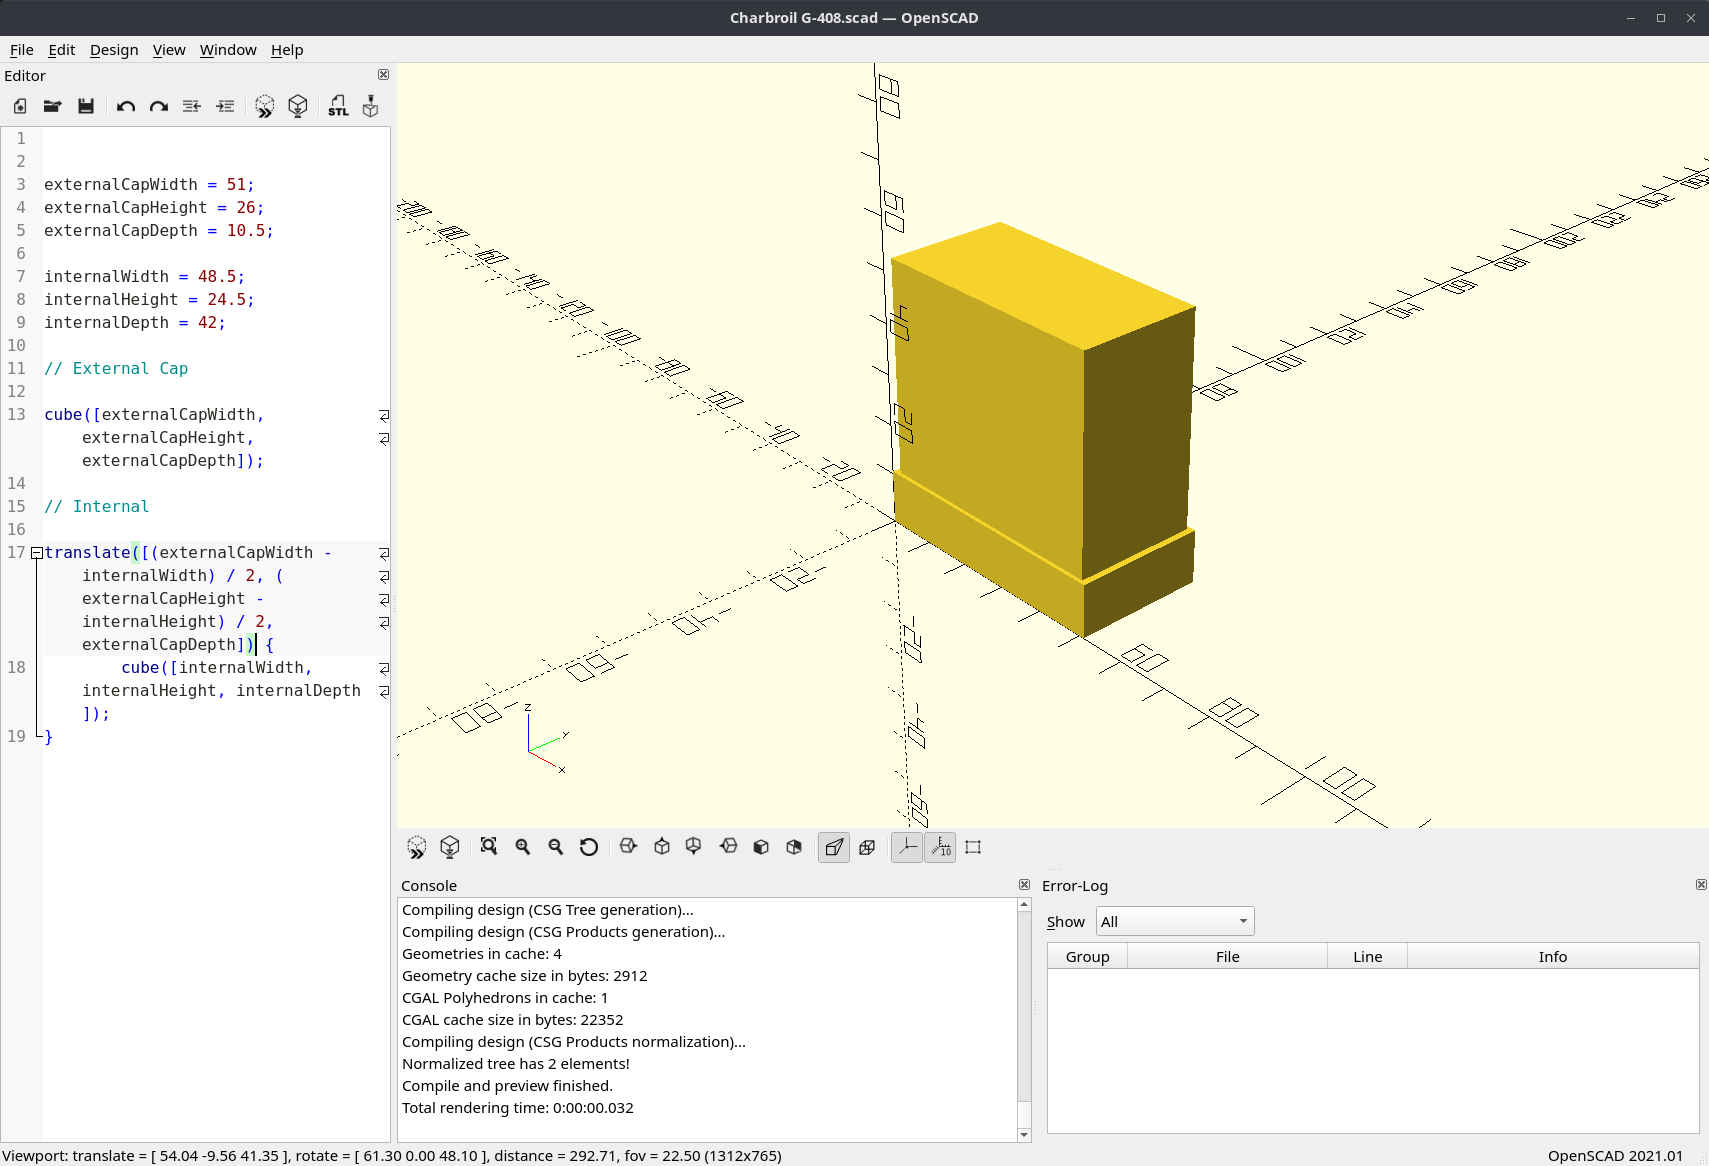
The first step of any shape like this is always to get the positive components in place first (positive being the components that are there, opposed to the components that are empty space). Afterwards I will have to change some code around to introduce our negative components, but for starters:
Then, the most important negative component is going to be the socket for the caster to screw into:
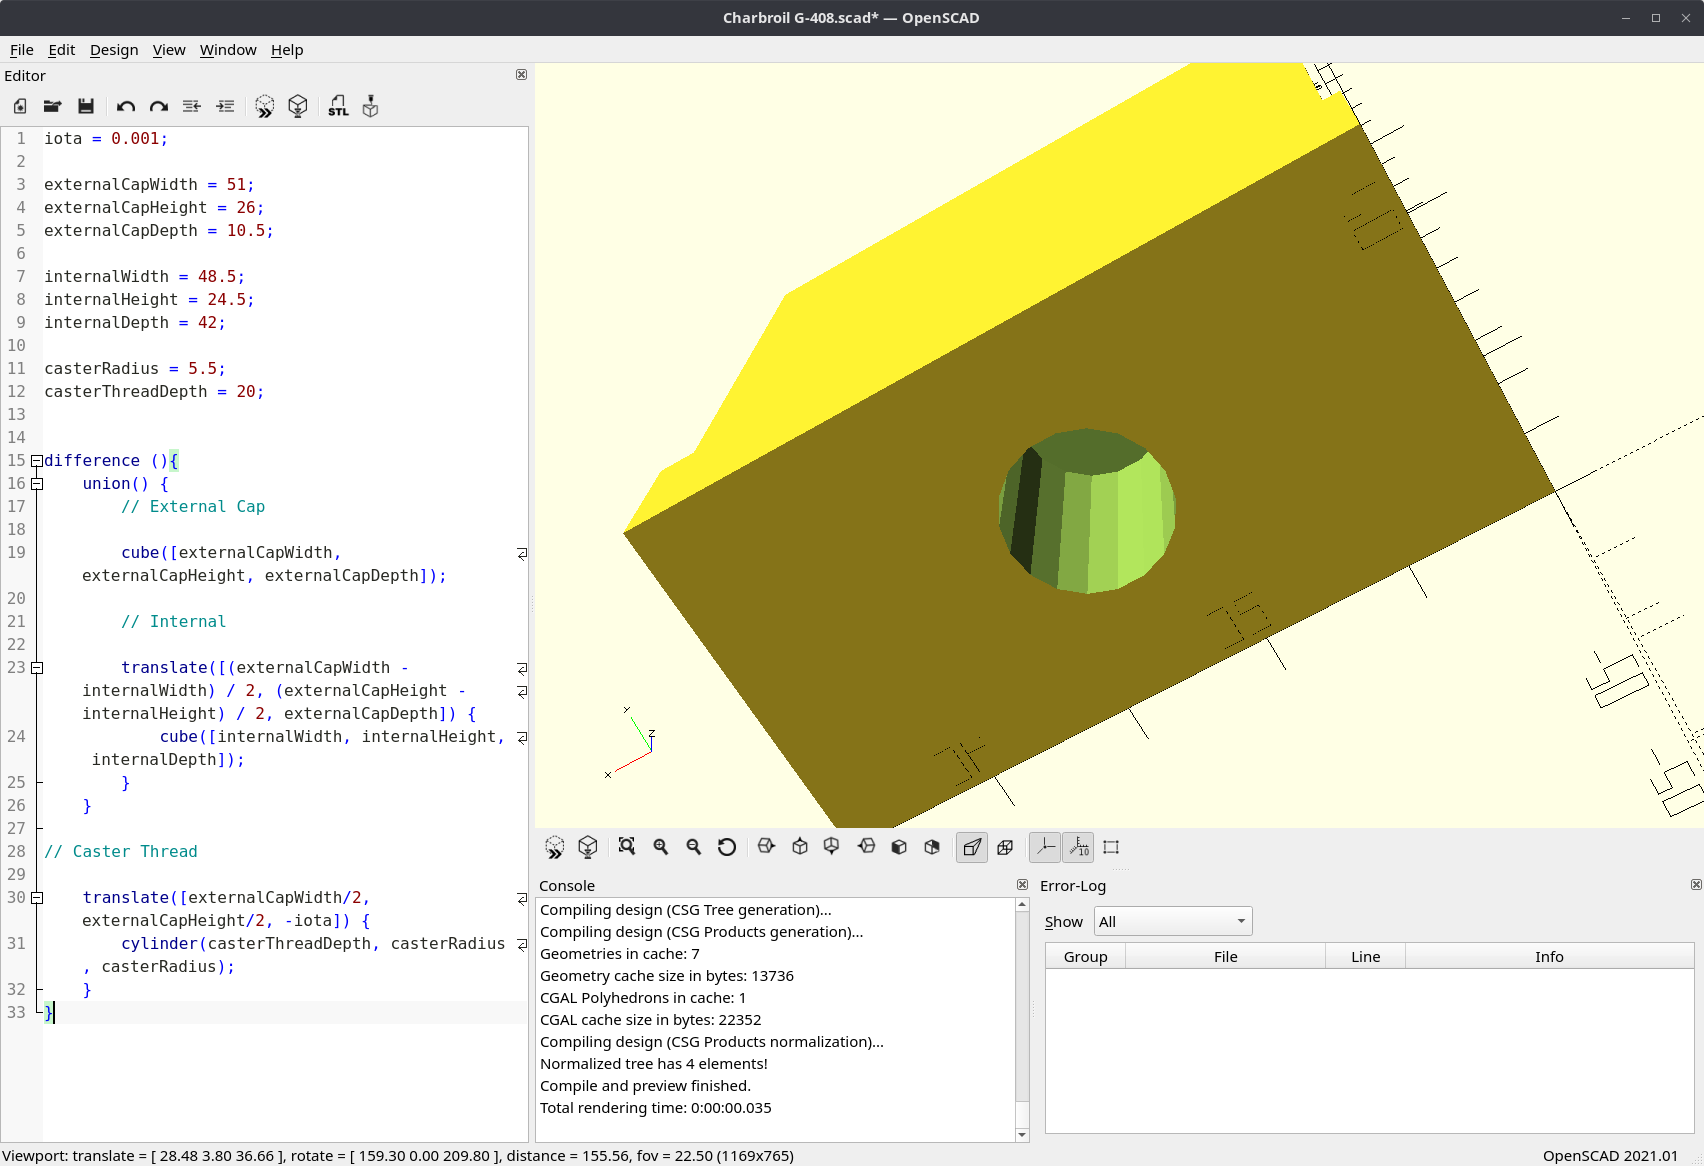
difference() and union() functions, the building blocks of most shapes.And finally the horizontal negative component for the attaching bolt to pass through:
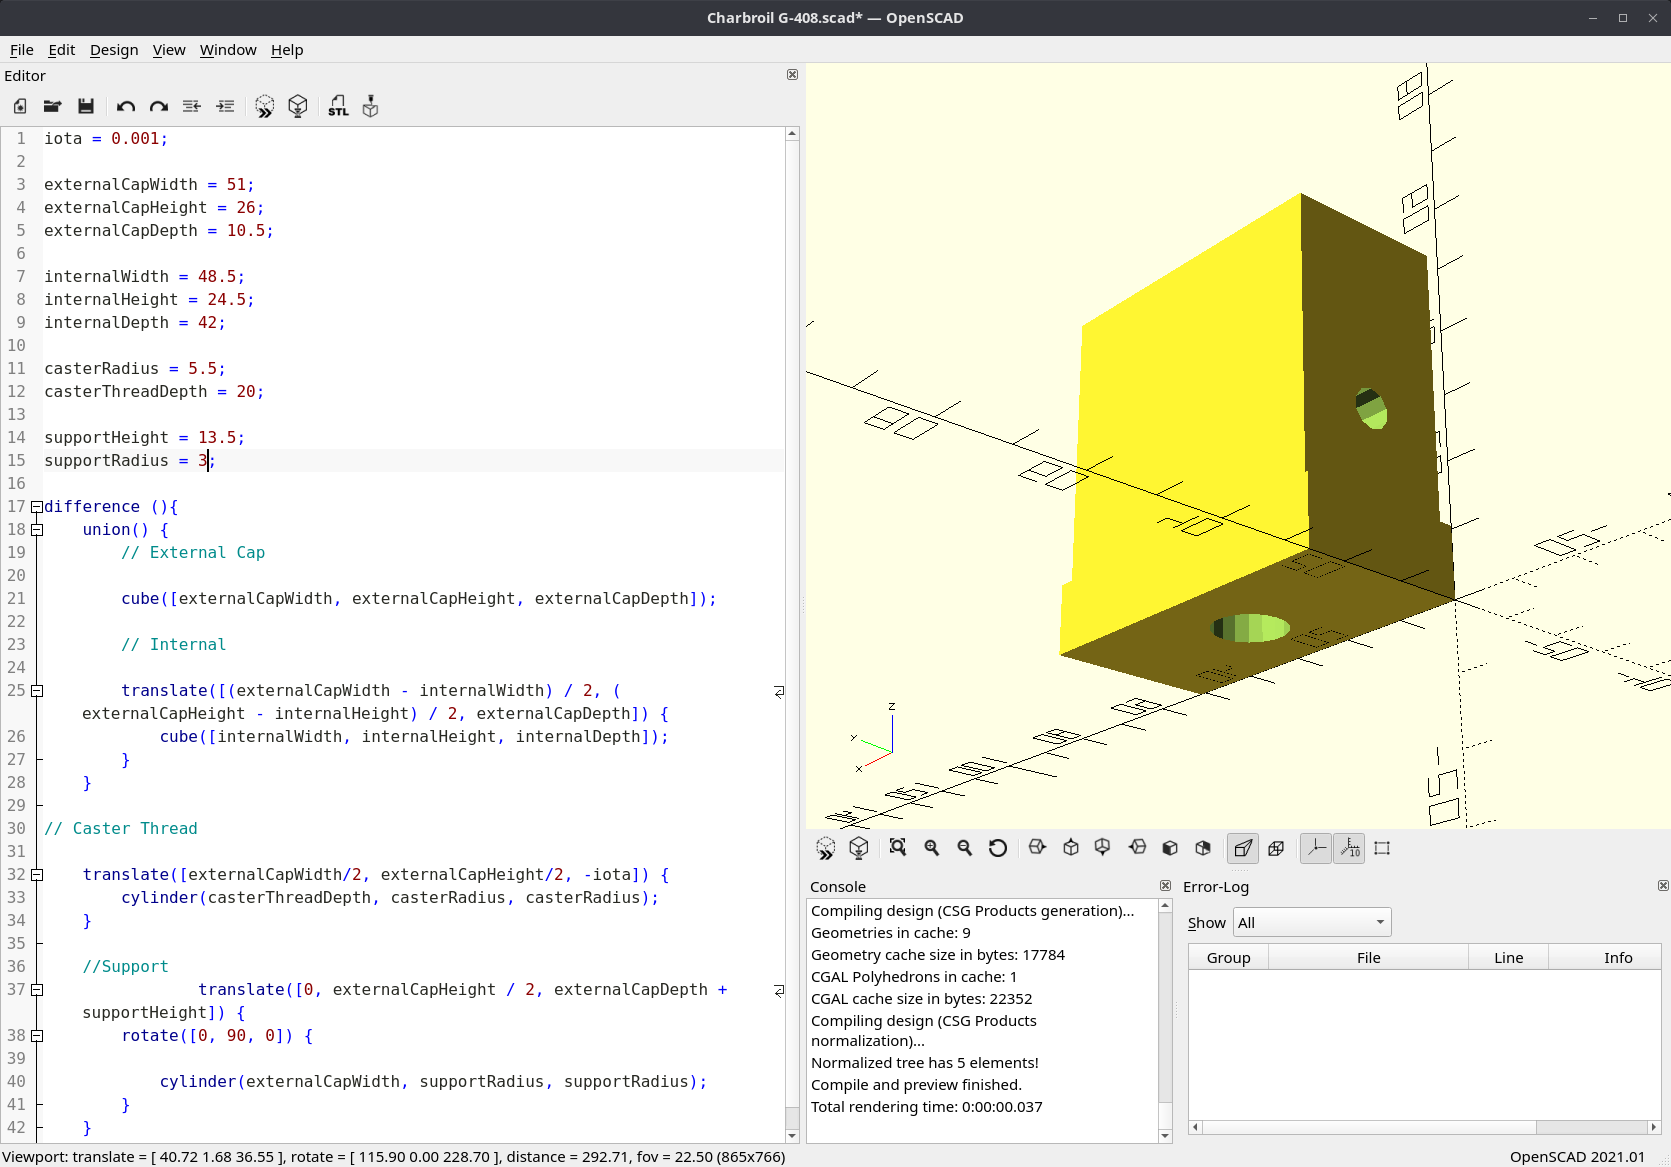
And there it is - a very simple component overall. After one (lengthy) fight with a 3D printer that did not want to print and a switch over to PETG (for the additional mechanical and temperature resistance over PLA), things were starting to take shape.
Thankfully the printer problems were nothing major (in fact I had dealt with this issue previously, and forgotten) and in the process I changed out the nozzle for a 0.8mm one, since this print and all of the upcoming ones I have queued are very simple shapes. It is not calibrated perfectly, but it was good enough to spit out this first attempt at the replacement part:
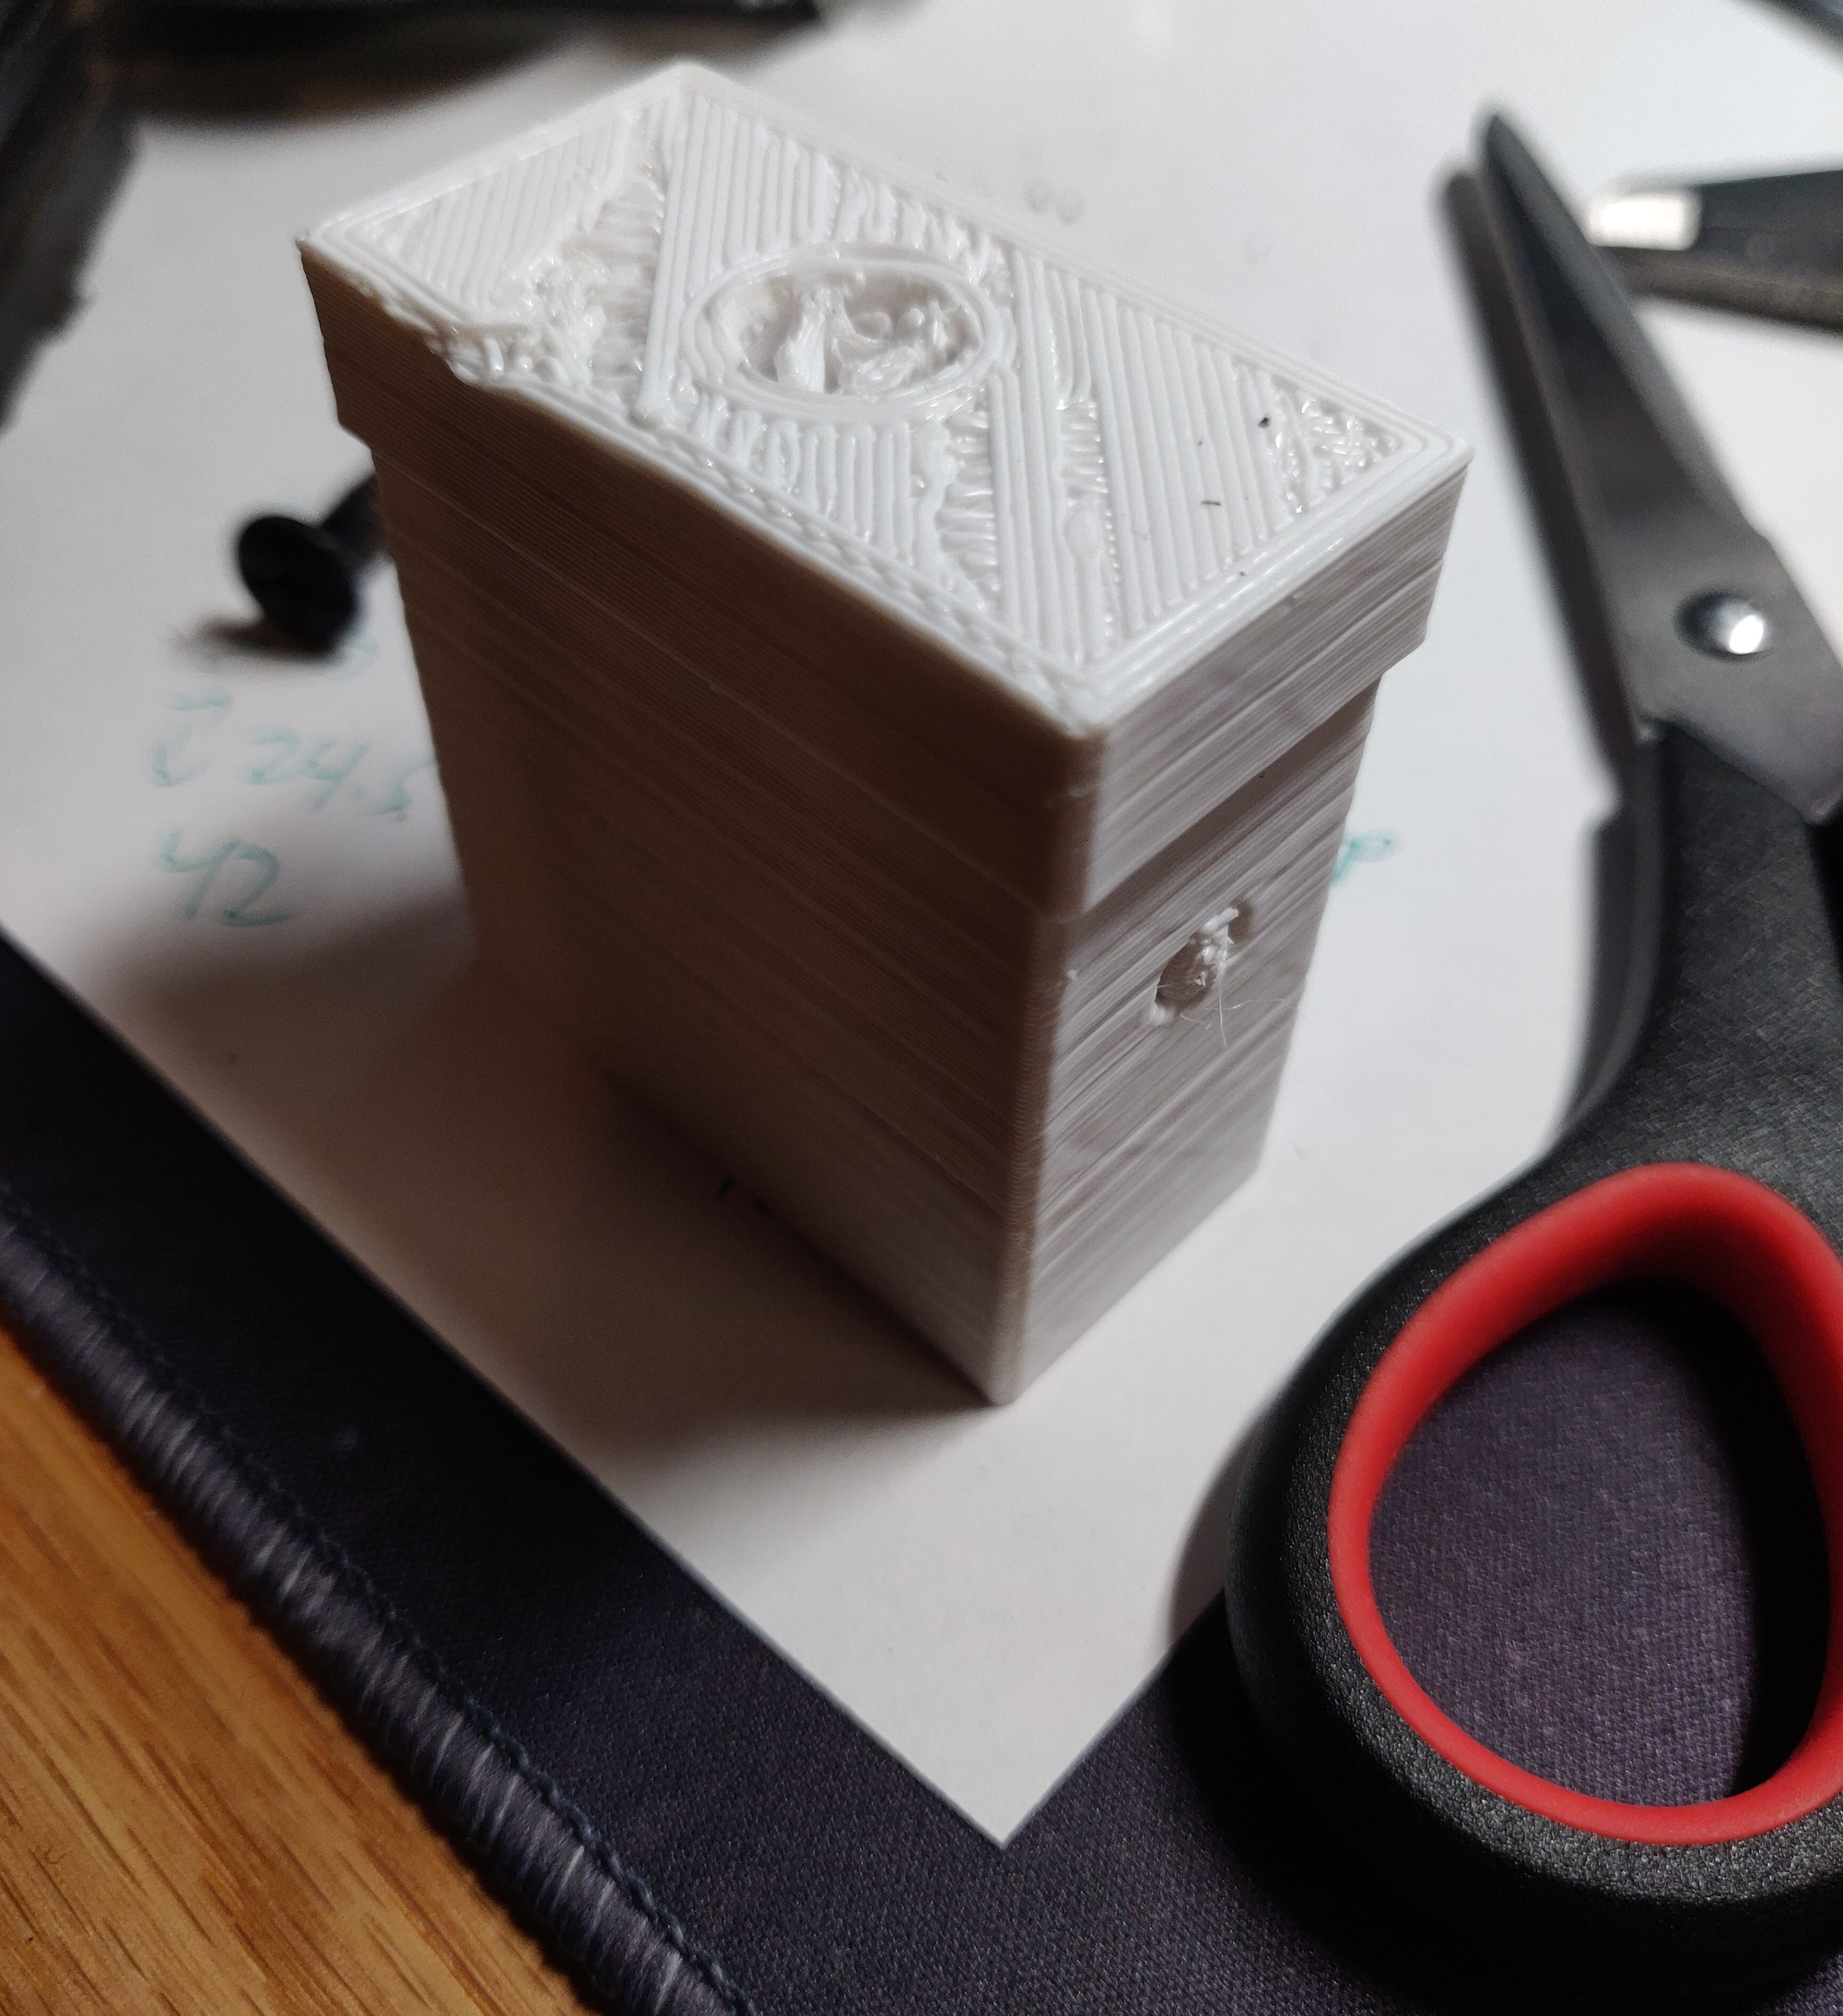
Unfortunately, my estimate on the negative shape for the caster threads was not accurate enough. Converting to metric, 7/16-inches is 11.1125 millimeters: and I had carved out 11.0 millimeters for the cylinder. Between that difference and any inaccuracies along the SCAD -> Cura -> GCode -> printer pipeline the caster would not fit inside.
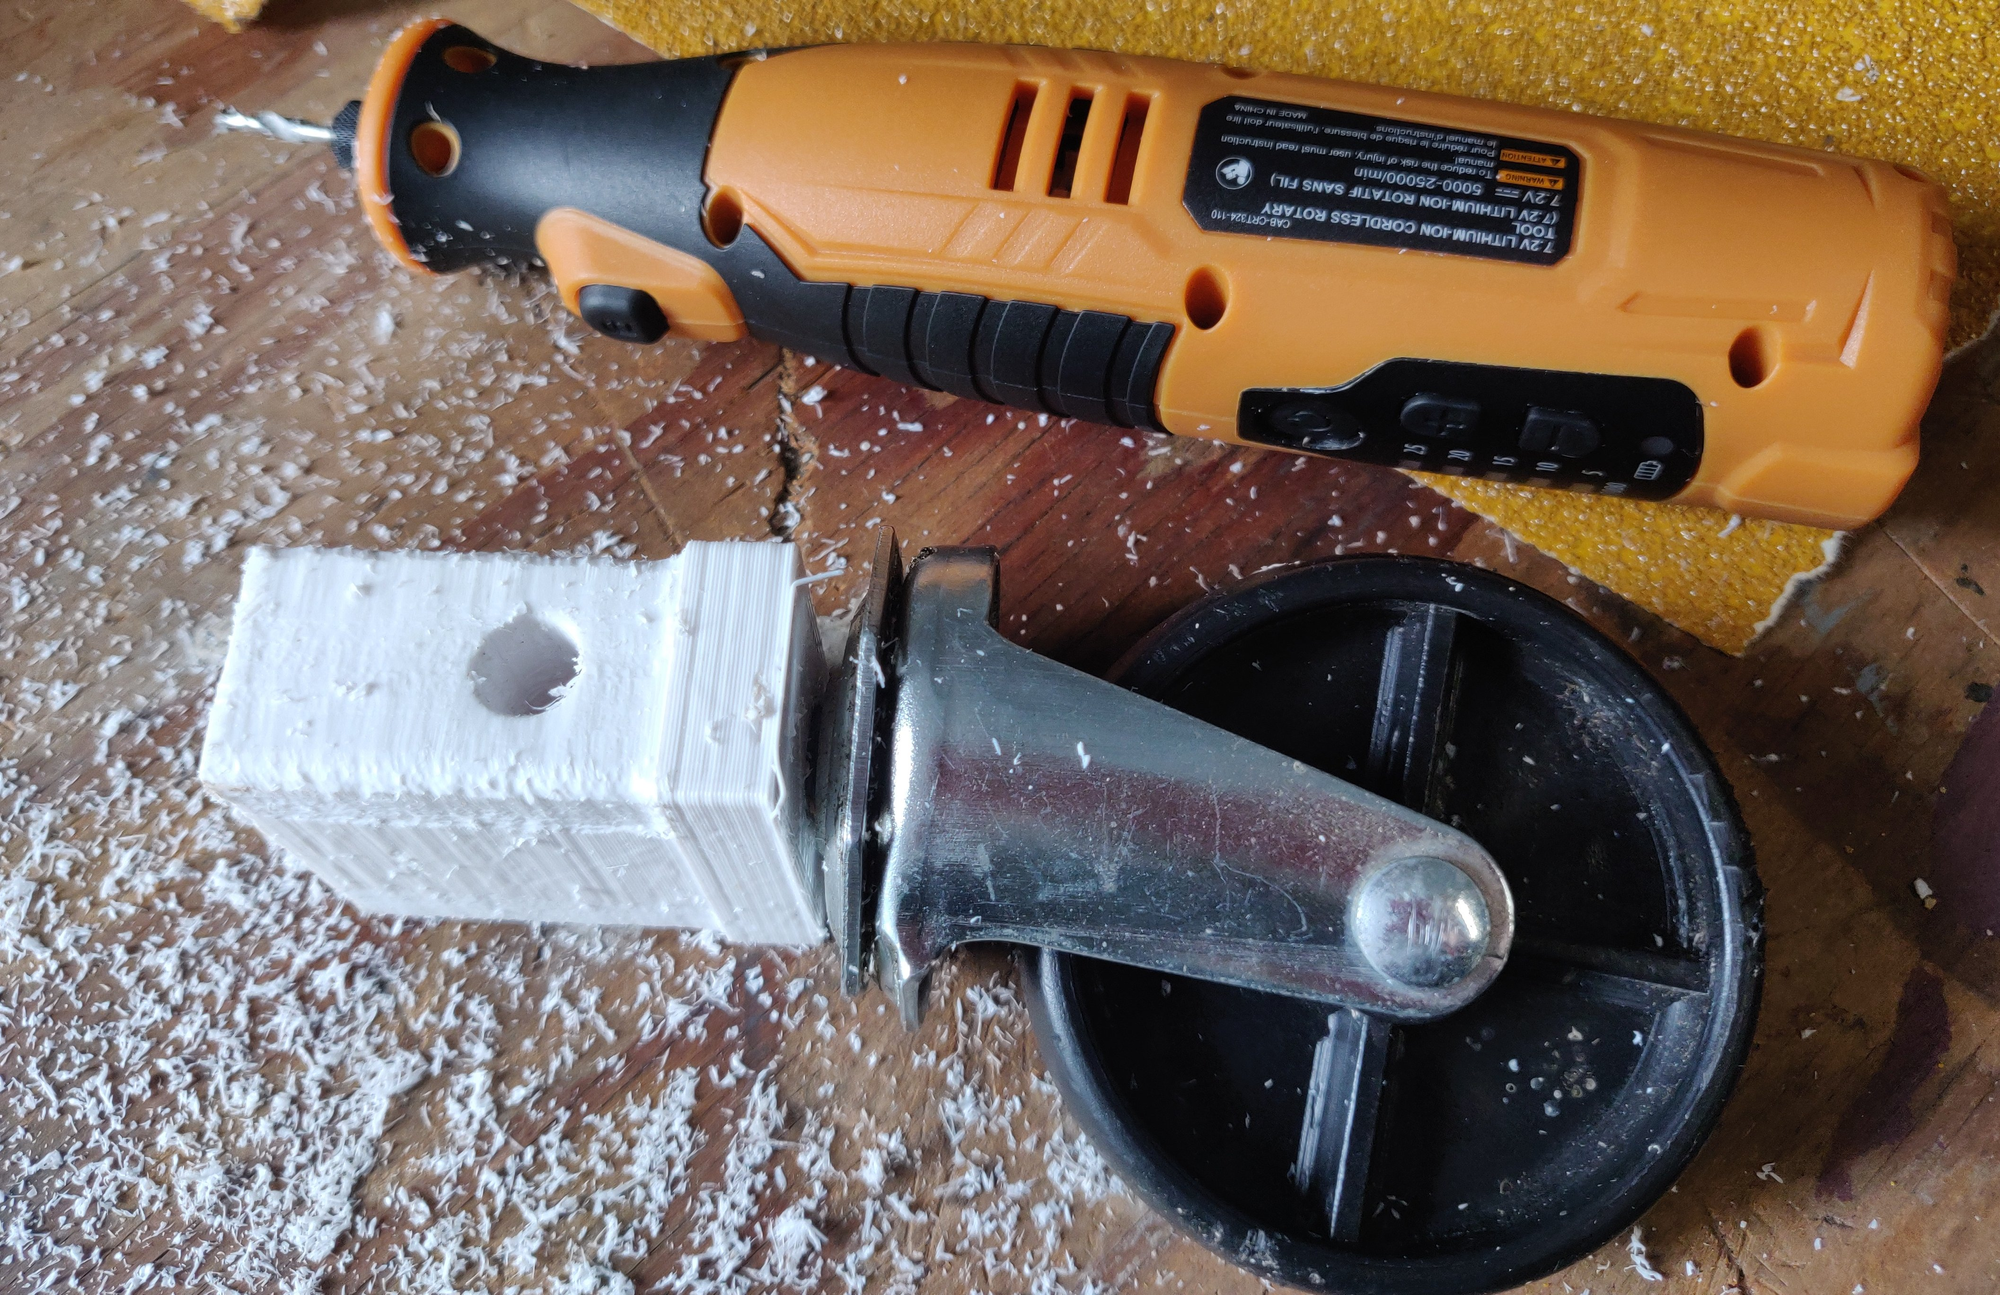
For a second attempt I changed the casterRadius value to 5.7 (from 5.5), figuring this way I would be far enough over the width of the caster's threaded bolt that any inaccuracies the printing pipeline introduced would not be detrimental to the process, and we could adjust from there. Plus, I really wanted to give the new taps a go and see if tapping into PETG for threads was a viable strategy here.
And what do you know, it sure darn is.

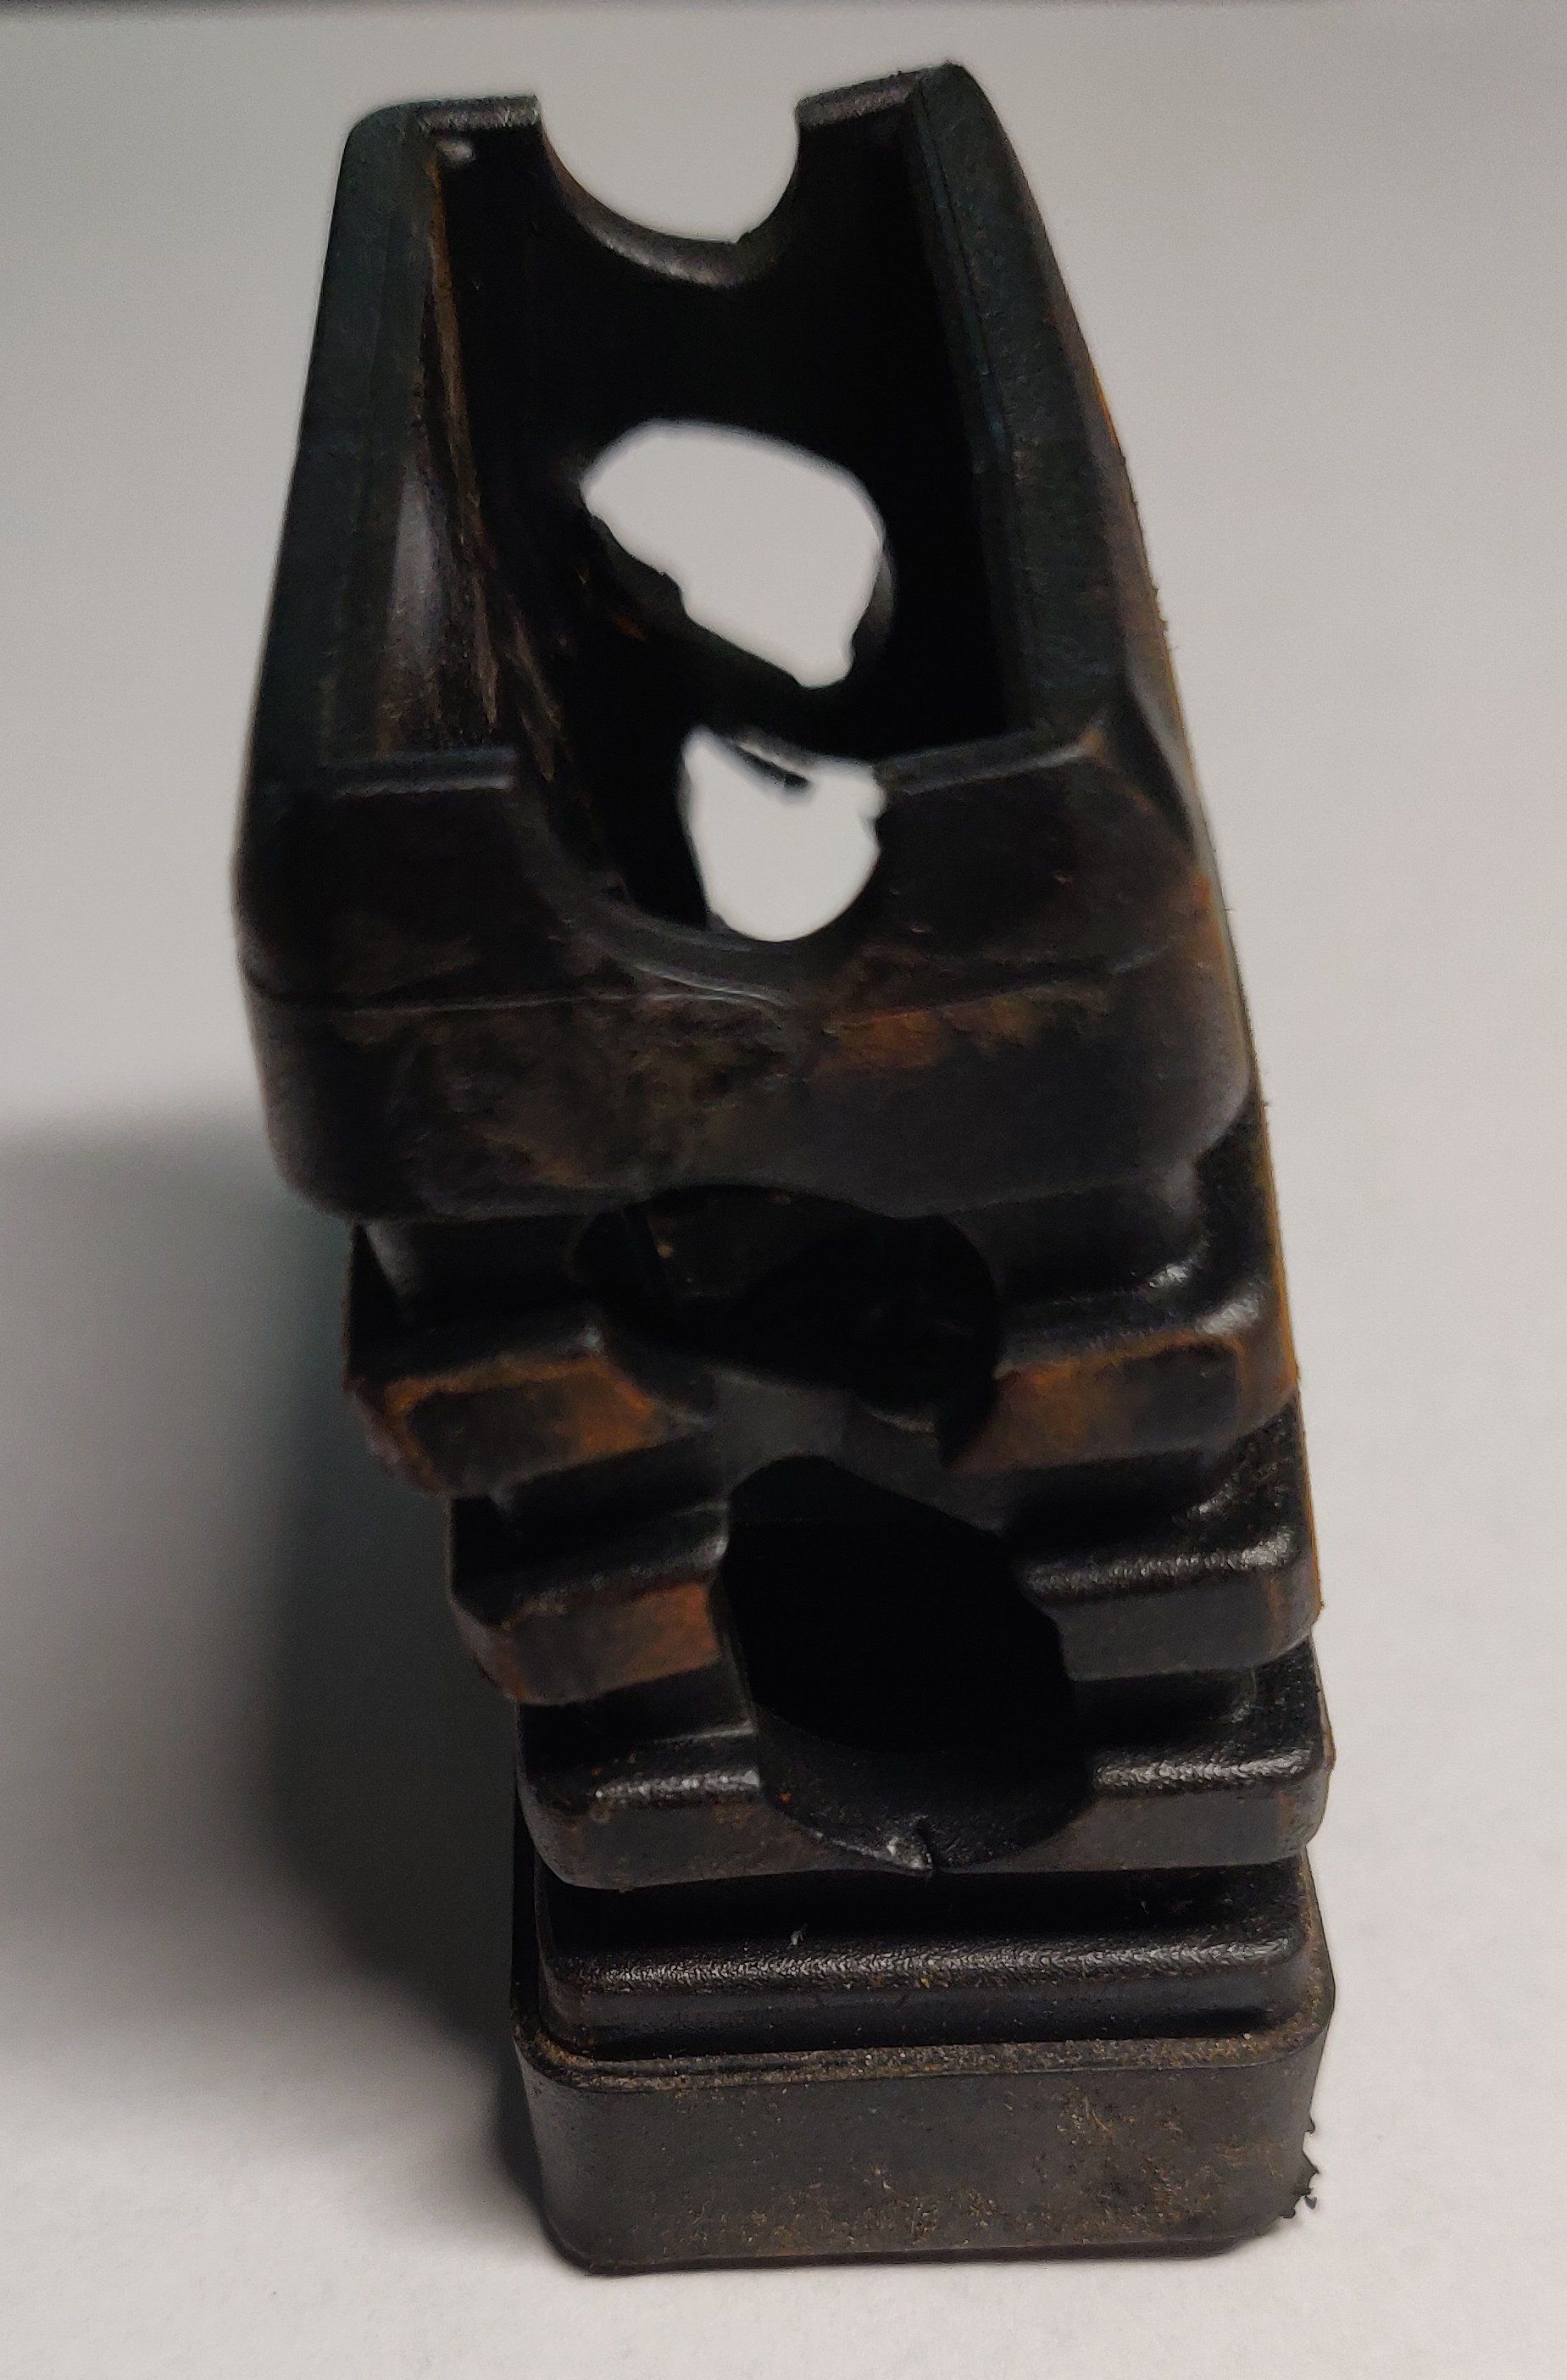
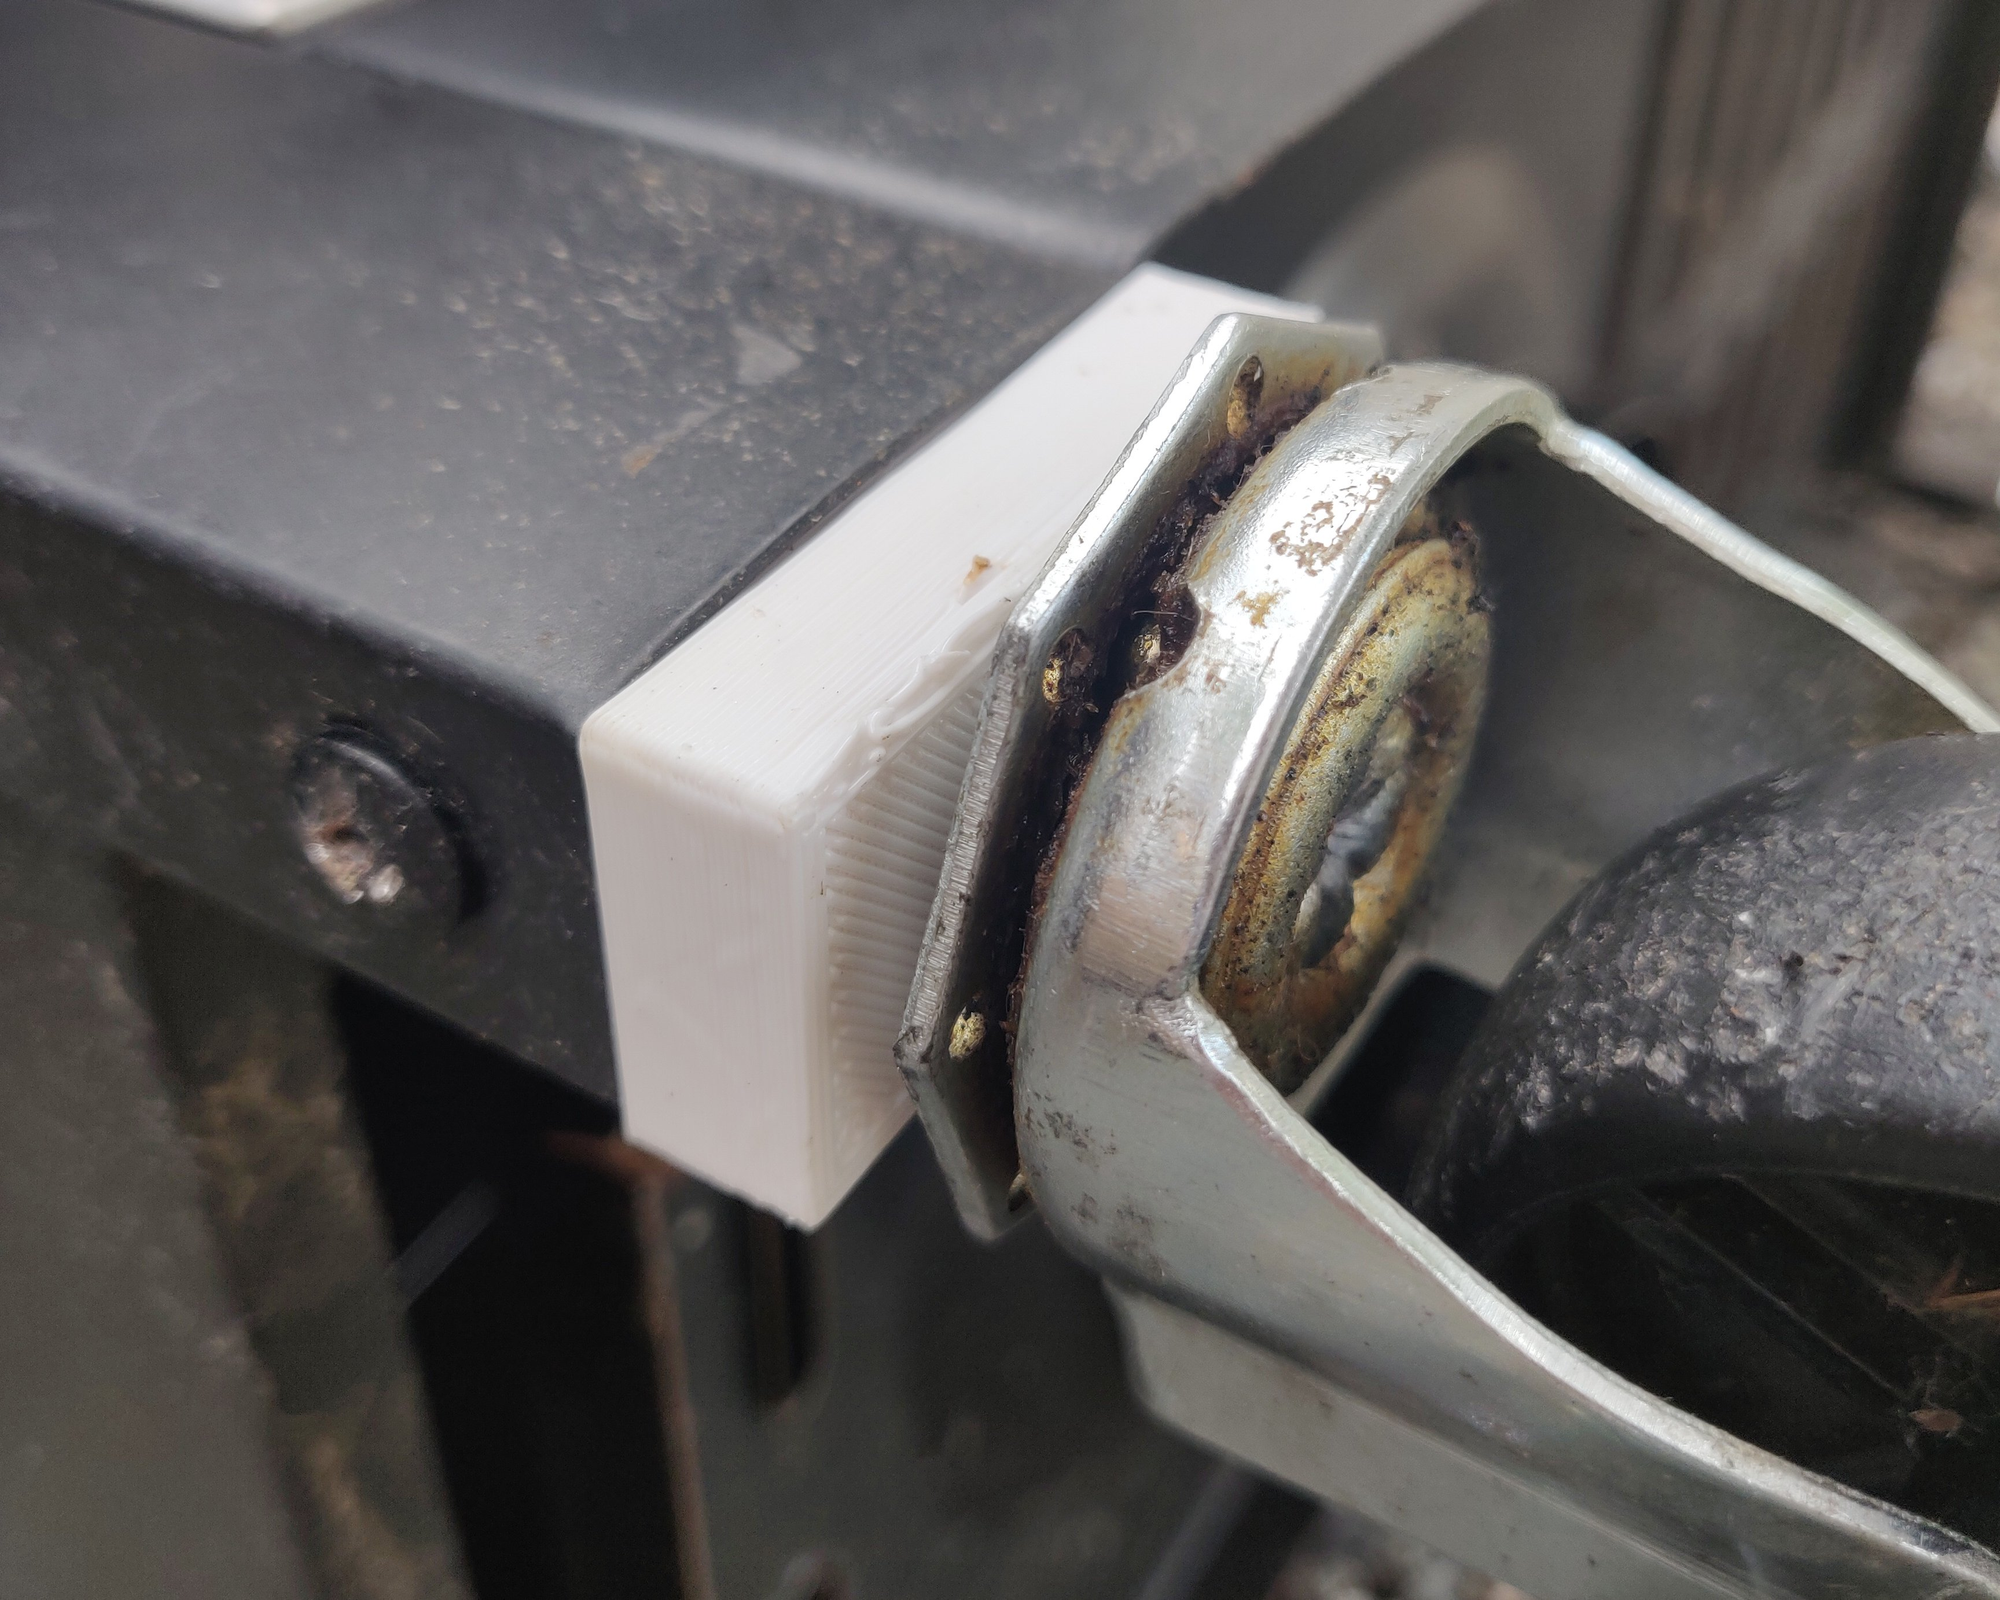
That, is an attached caster wheel. A very snug fit, but it is not going anywhere any time soon. Which, well, is also true of the printed piece. You see, this barbecue is 15ish years old and it shows in some places. For example, the section that the socket is supposed to push into:
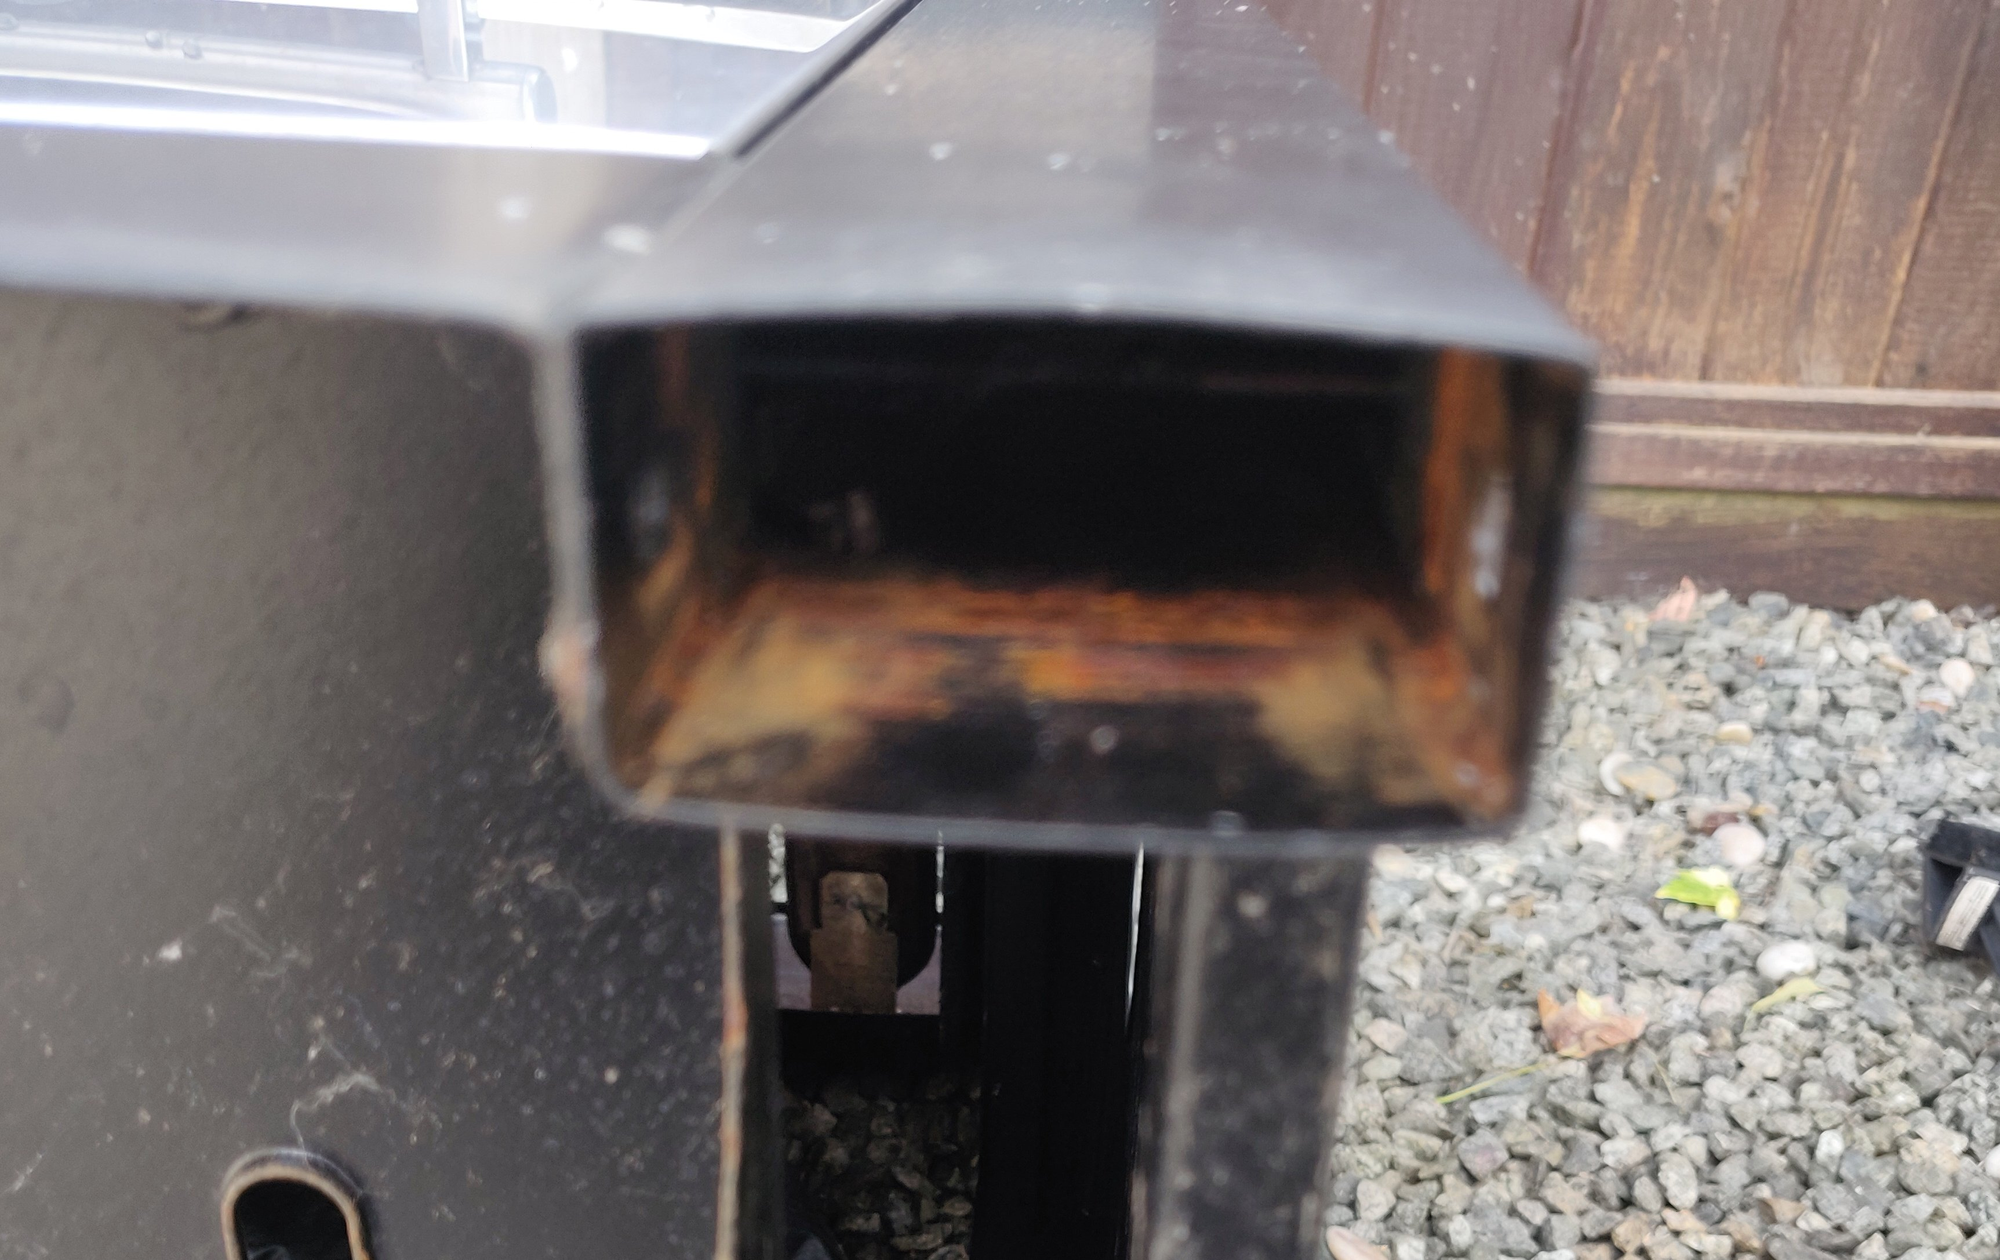
Despite the lack of focus, you can see that the framing is bent. In a perfect world the framing would not have been bent and our insert would have fit perfectly inside, but it was not to be. However it is not off by much...
Thankfully the measurements are quite close. Plus, we have already proven one of our two goals - threading printed PETG with a tap tool is a completely viable way to introduce threads, even on larger pieces like a 7/16-inch bolt.
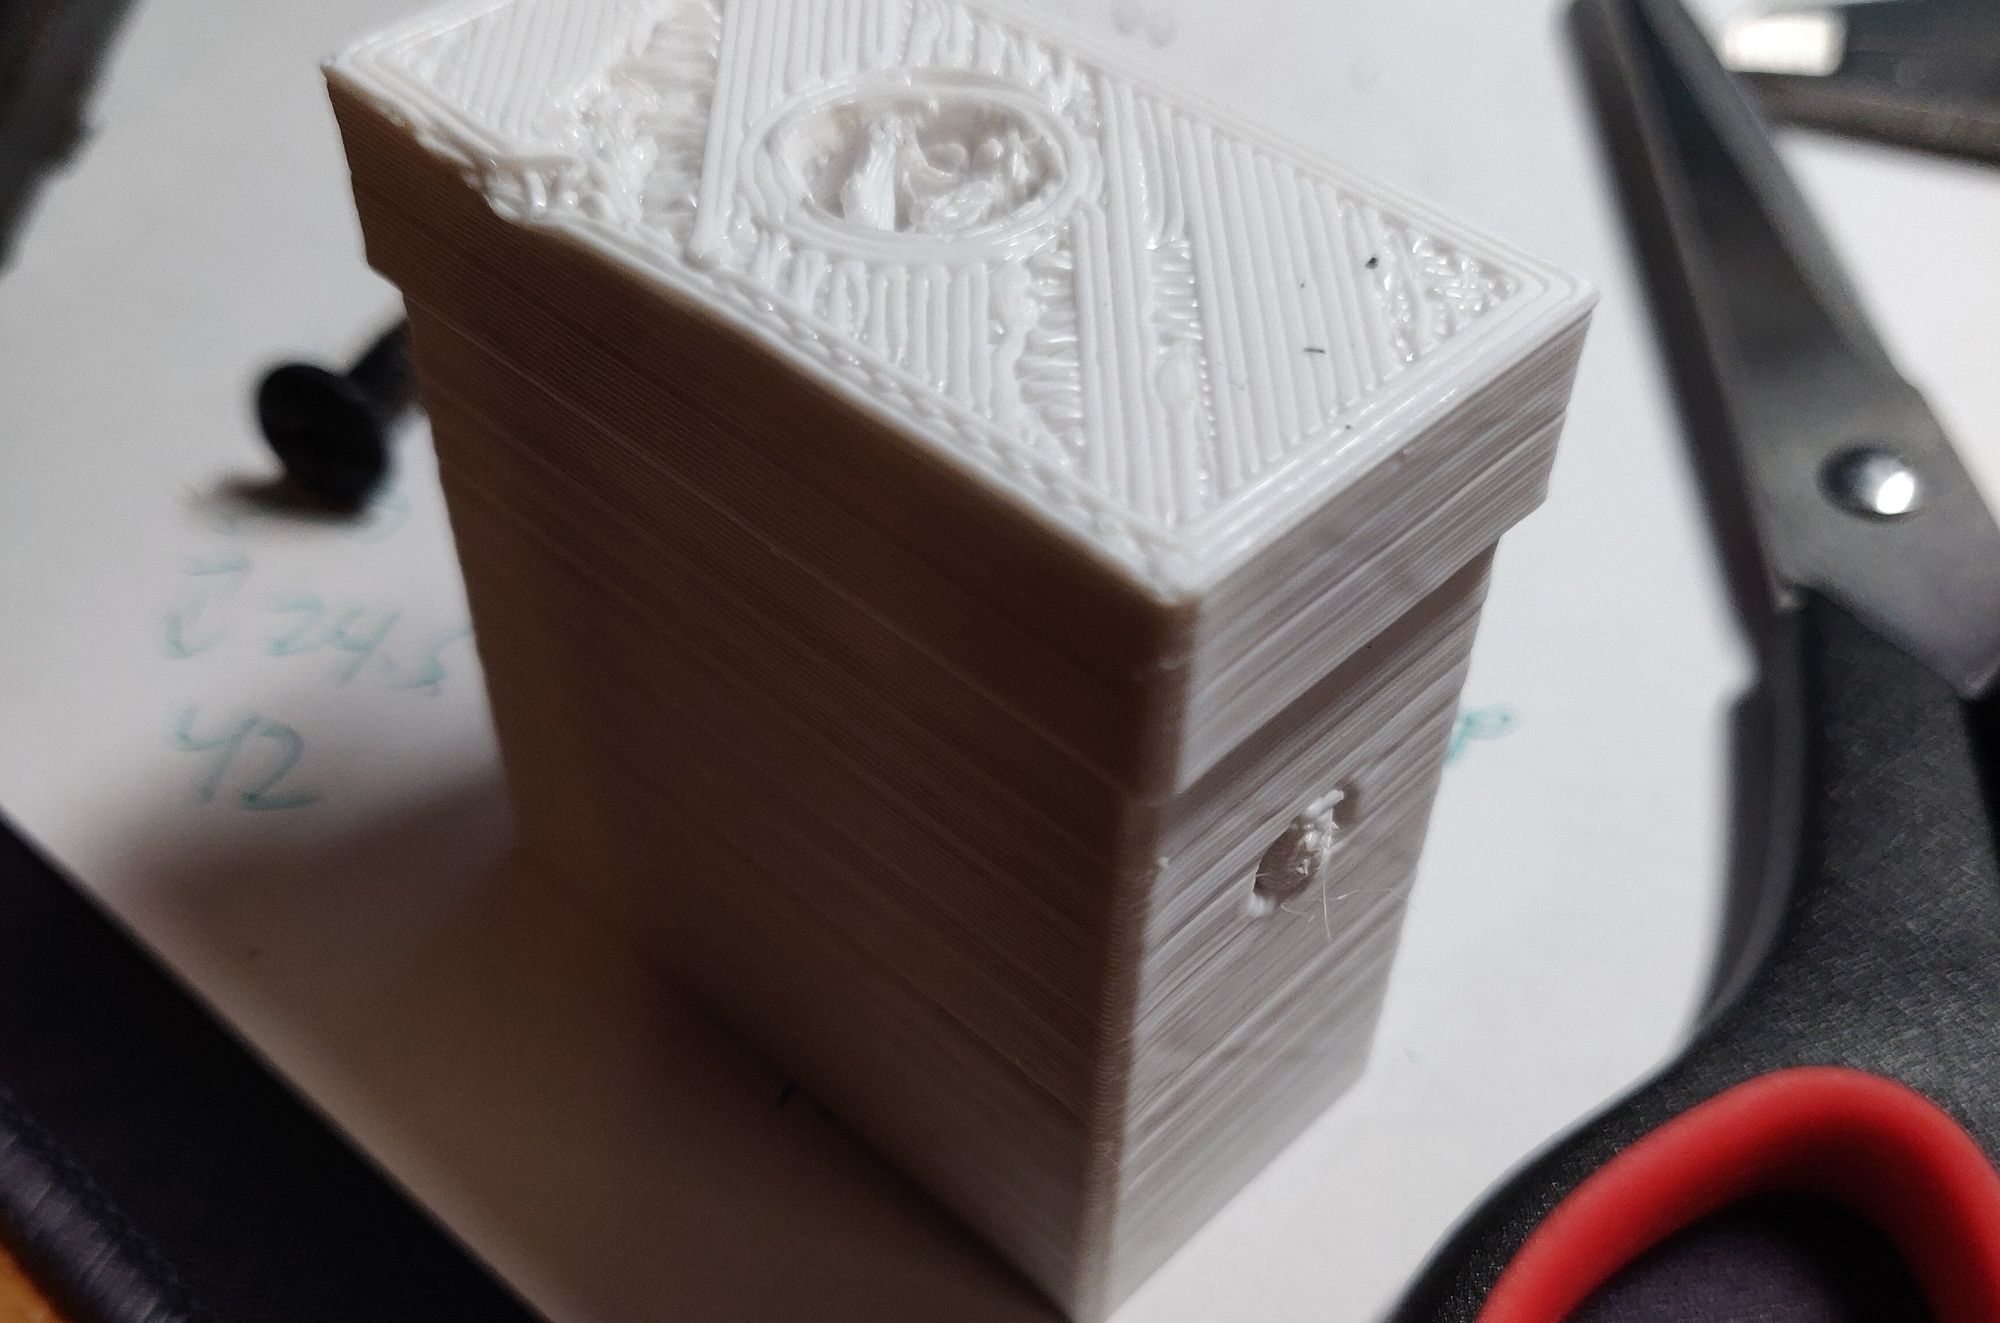
With a couple of adjustments:
A new piece is born! and with the reduced size of the "internal" section...
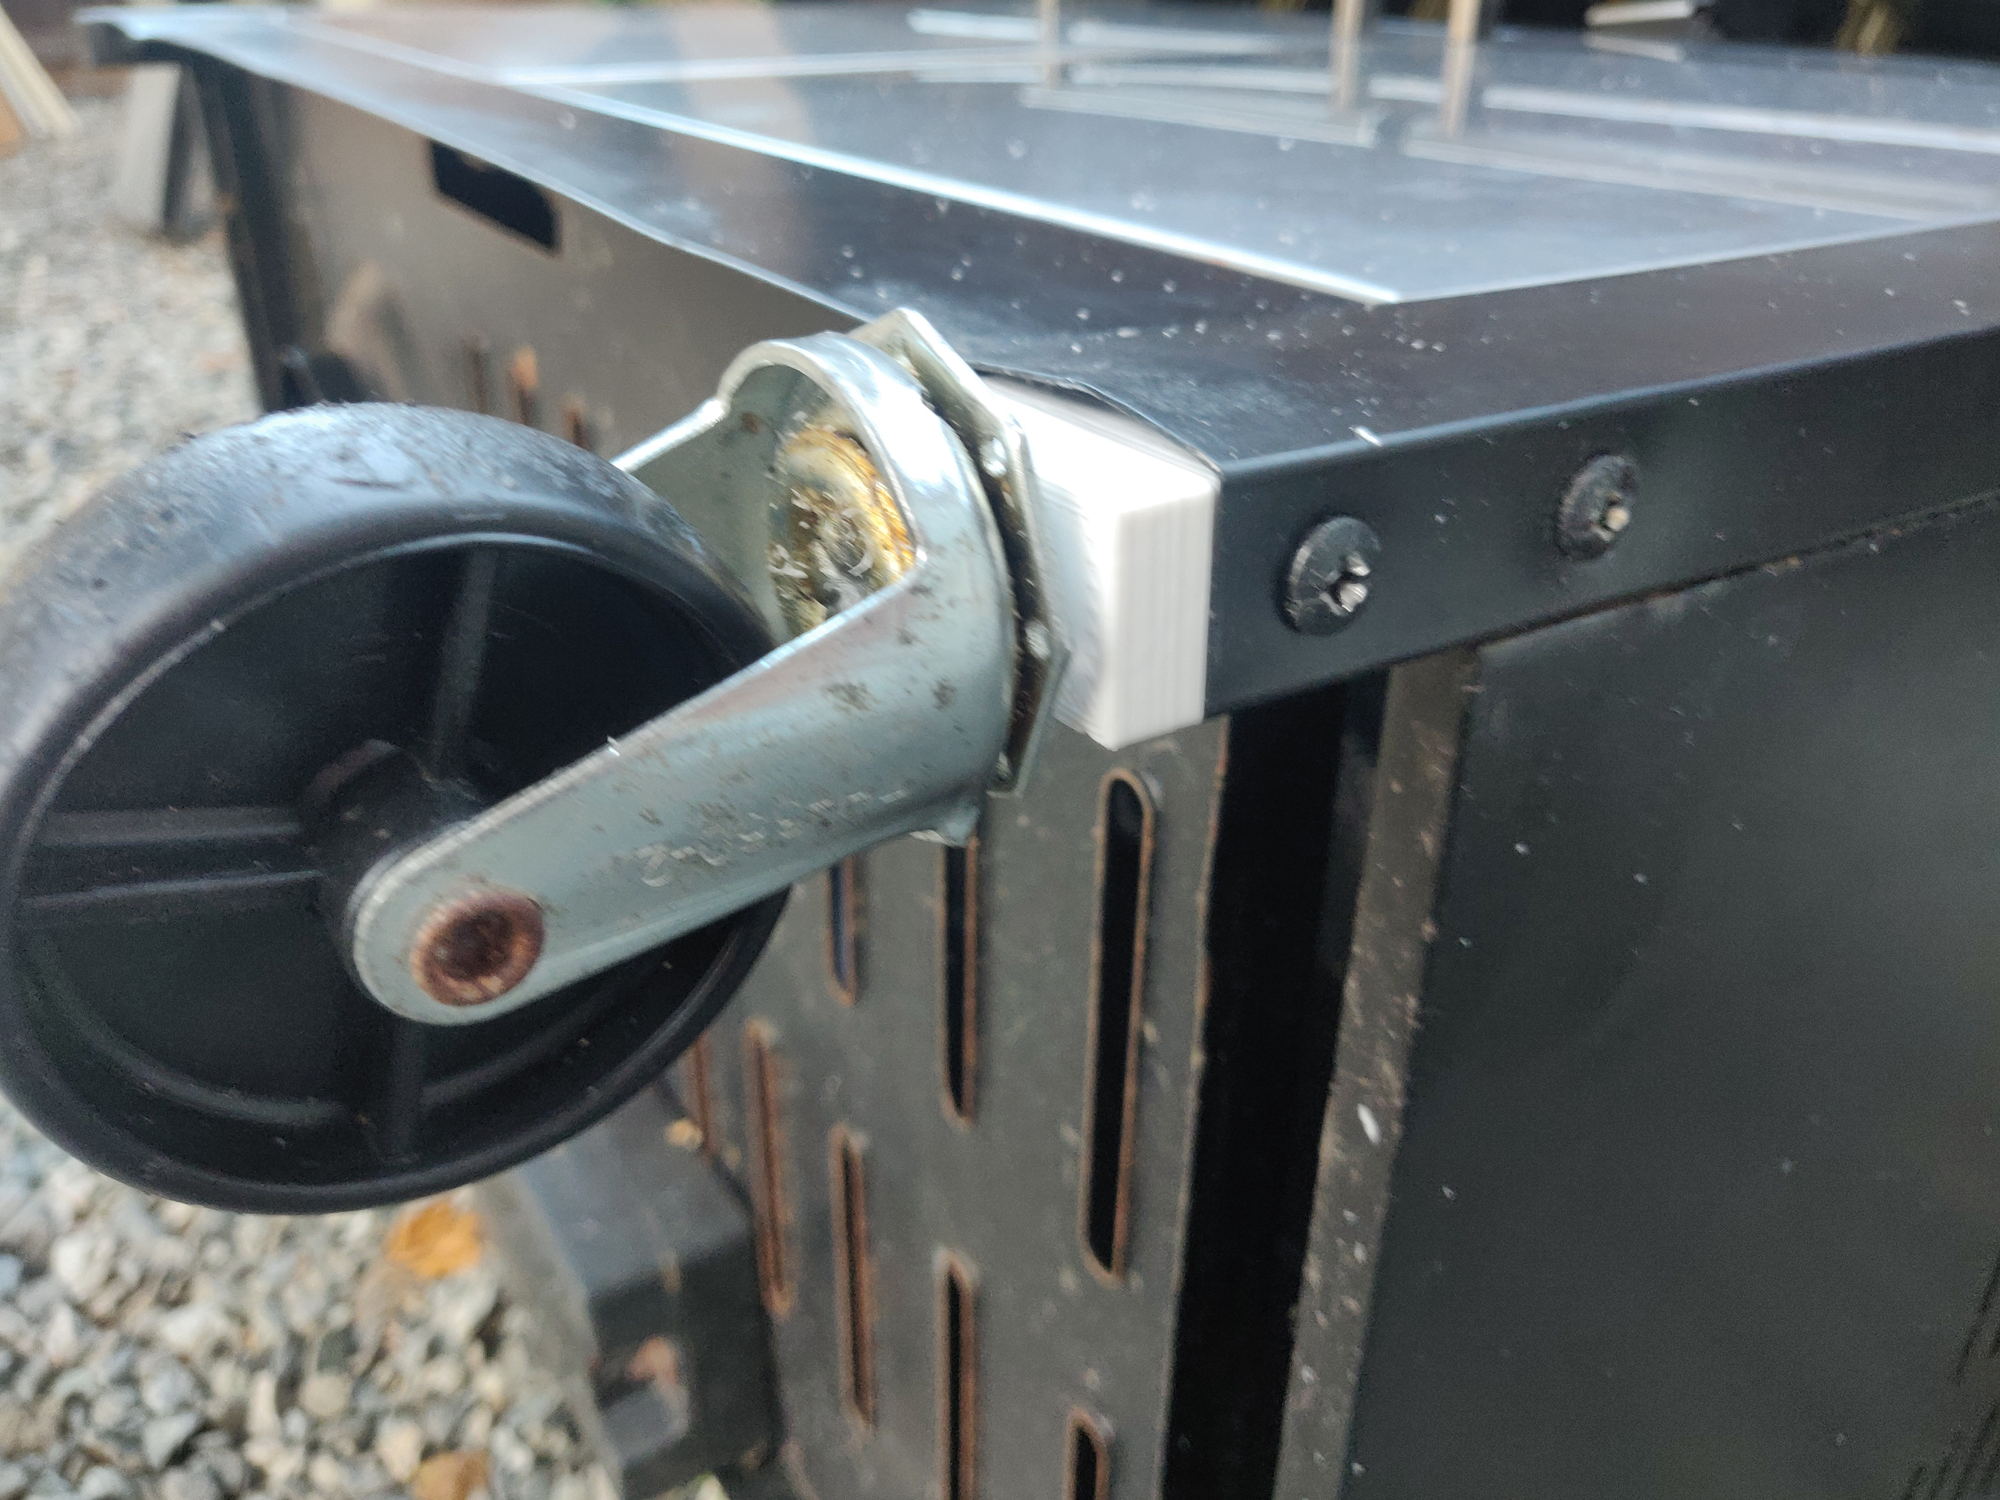
A fitting, working barbecue wheel.
As a bonus, when picking the barbecue back up after putting this wheel on the other front wheel fell out. Same problem, worn out rubber threads.Looking at the one above though, I am not a huge fan of how the "outer" section looks like it could get sucked into the bent frame if not for the bolt holding it out. I would rather the weight was distributed across both of the points like it was designed to do, so for the final version I increased the size of the outer portion to fill in the space a bit better. The screenshot above you see for the final draft is actually this last version. For some reason, I also shrunk the outside portion when printing the "smaller" version to fit inside the frame at first. Not sure which part of me thought that made sense.
And with that, the barbecue has 4 working wheels again. Now to finish putting it back together and cook something with it.