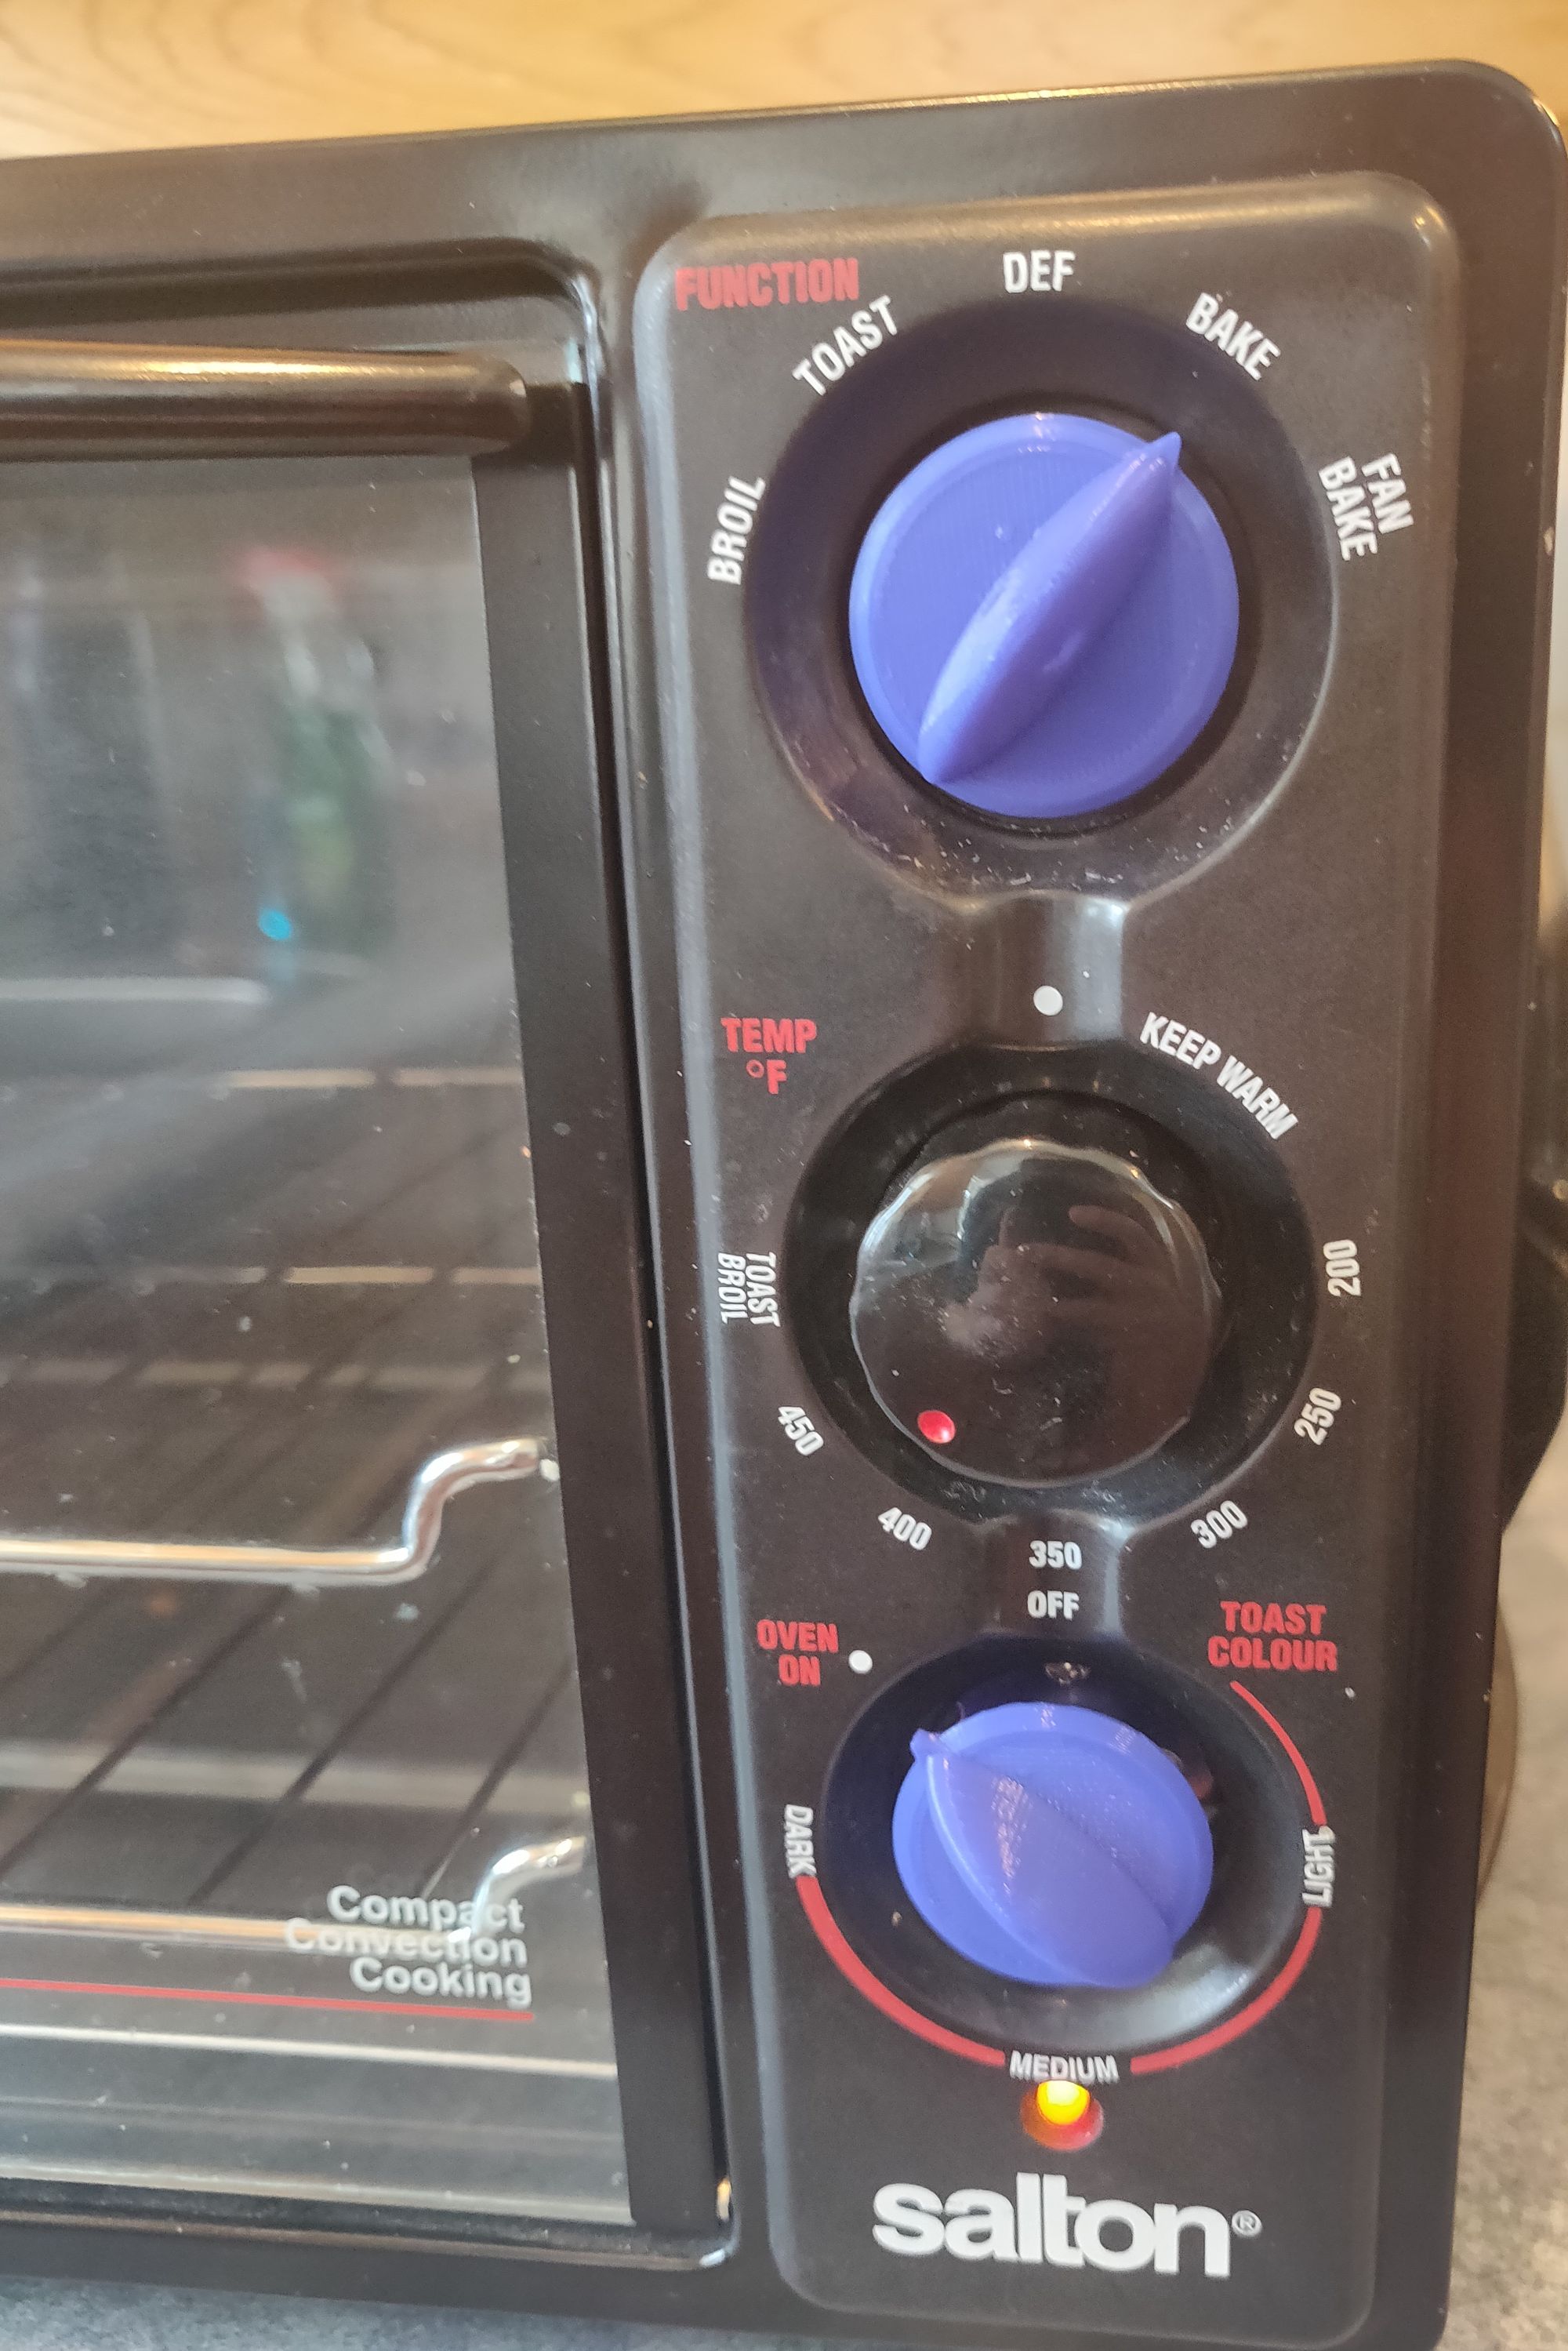
Salton Toaster Oven Dials
This post is related to an existing post. There may be some overlap in content.
Recently I pulled our aging Salton "Convectaire" toaster oven out of the cupboard it has called home for the past 5+ years, and wanted to use it for toasting sandwiches instead of relying on heating up our traditional oven. Unfortunately when I went to turn it on there was a brief "snap", and nothing happened.
Similarly, attempting to adjust the dial for oven temperature resulted in the dial falling into the palm of my hand.
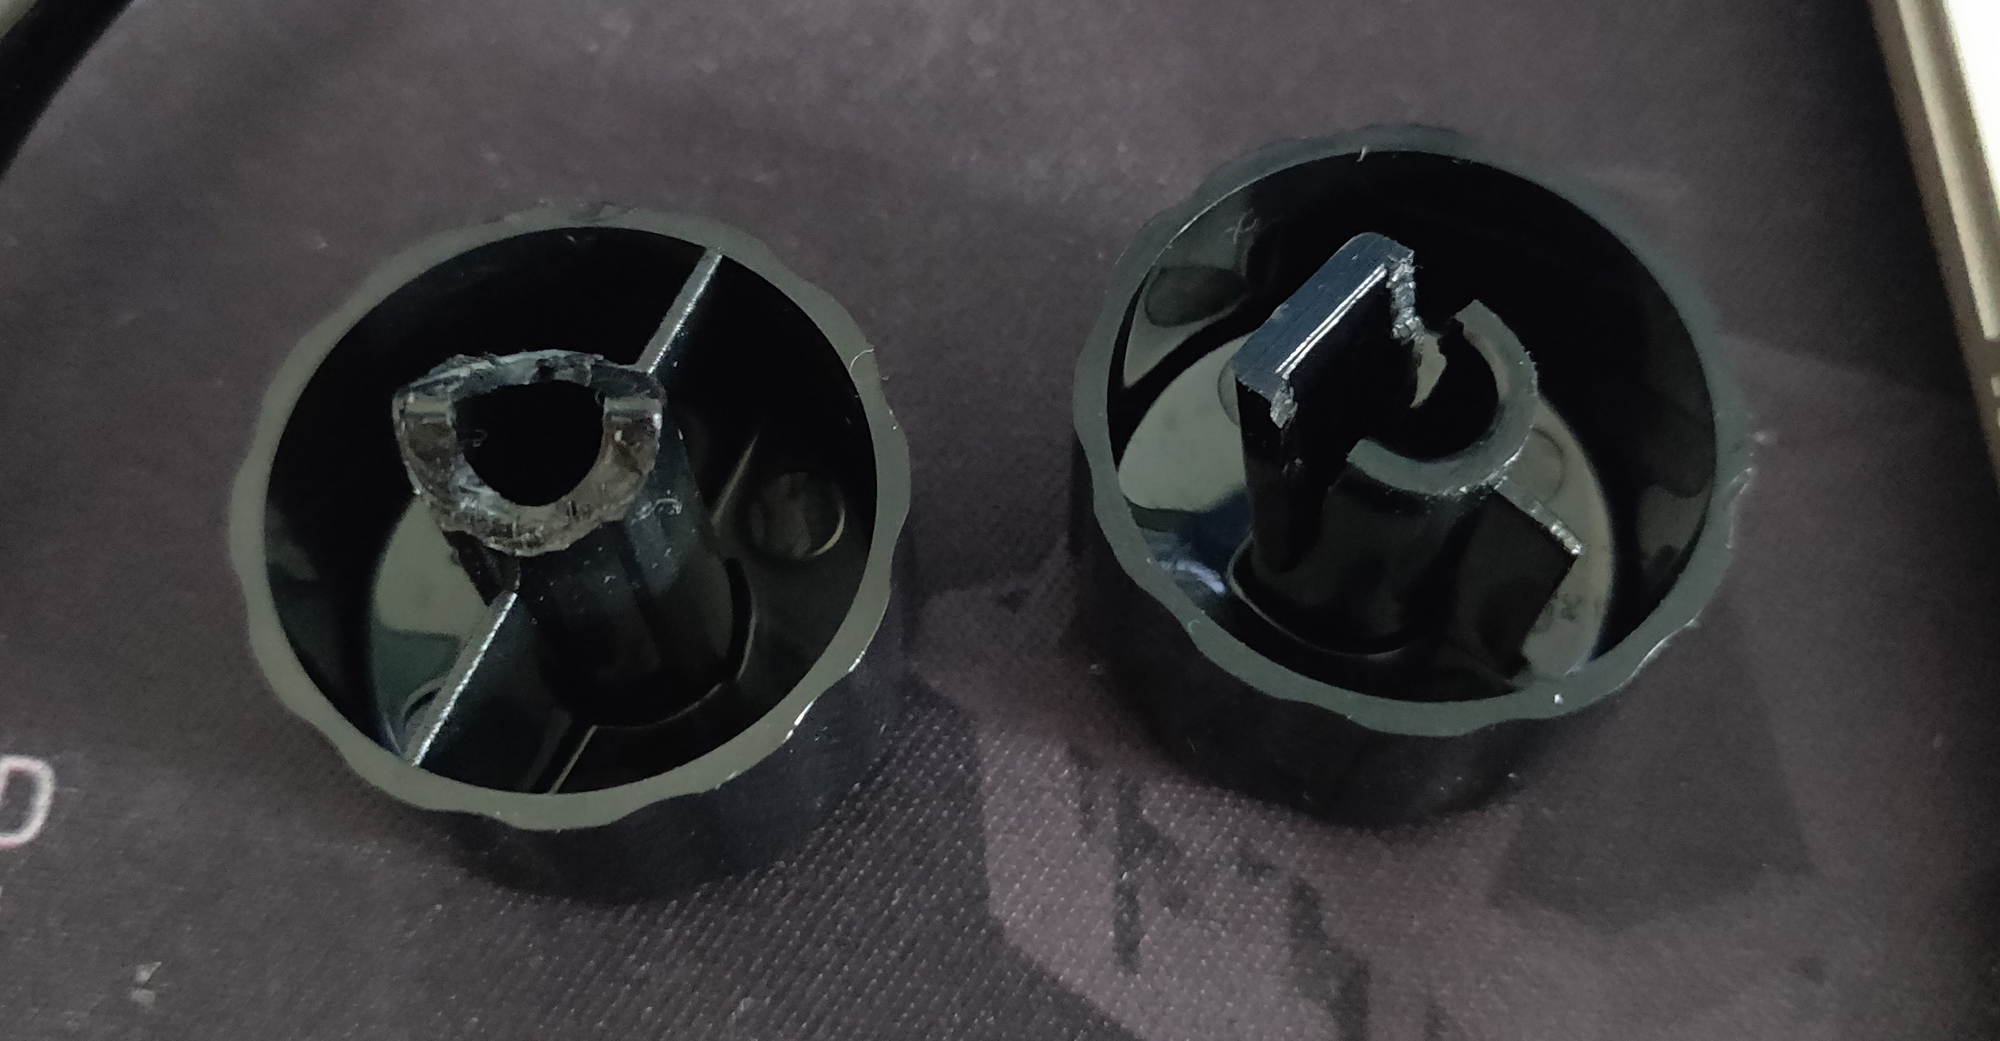
I did end up eating that day, thanks to a pair of pliers and a screwdriver which worked well enough to operate the toaster oven controls. To me that wasn't an acceptable replacement I wanted to continue using. After all, they're just plastic knobs, how hard could getting my hands on some replacements be?
Starting with the dial on the right (the far more difficult of the two to change without the knobs) I ran through some models on Thingiverse looking for one that was keyed the same, and came across Whirpool Microwave Oven Dial Replacement (model M515) by zoe1337 that seemed to have the same key. Blindly printing their .stl file resulted in a dial that was about 3 times bigger than I needed it be, thanksfully they included their .scad file for OpenSCAD, which I've used exactly once before. A simple resize later and the dial was replaced! The oven could once again be turned on and off without pliers.
One of two dials done, 50% of the way through the project. For once, an open and closed item on the growing list of projects, right?
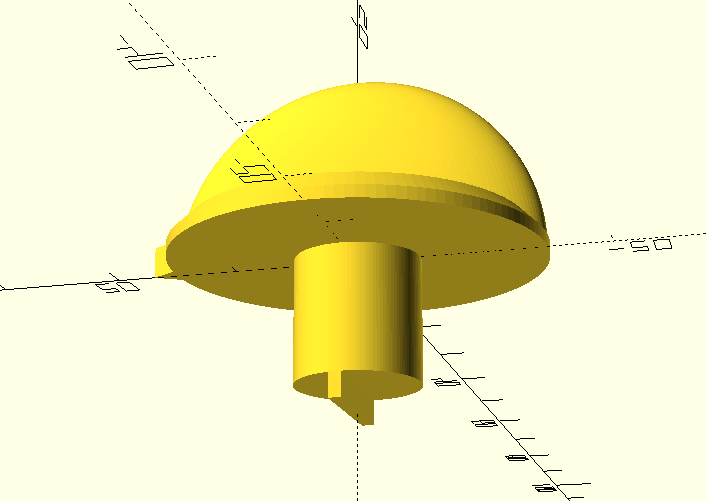
The second dial has a very different key, more of a positive protruding key than a negative one. A couple quick guesses changes in OpenSCAD later, and the following model was ready to go:

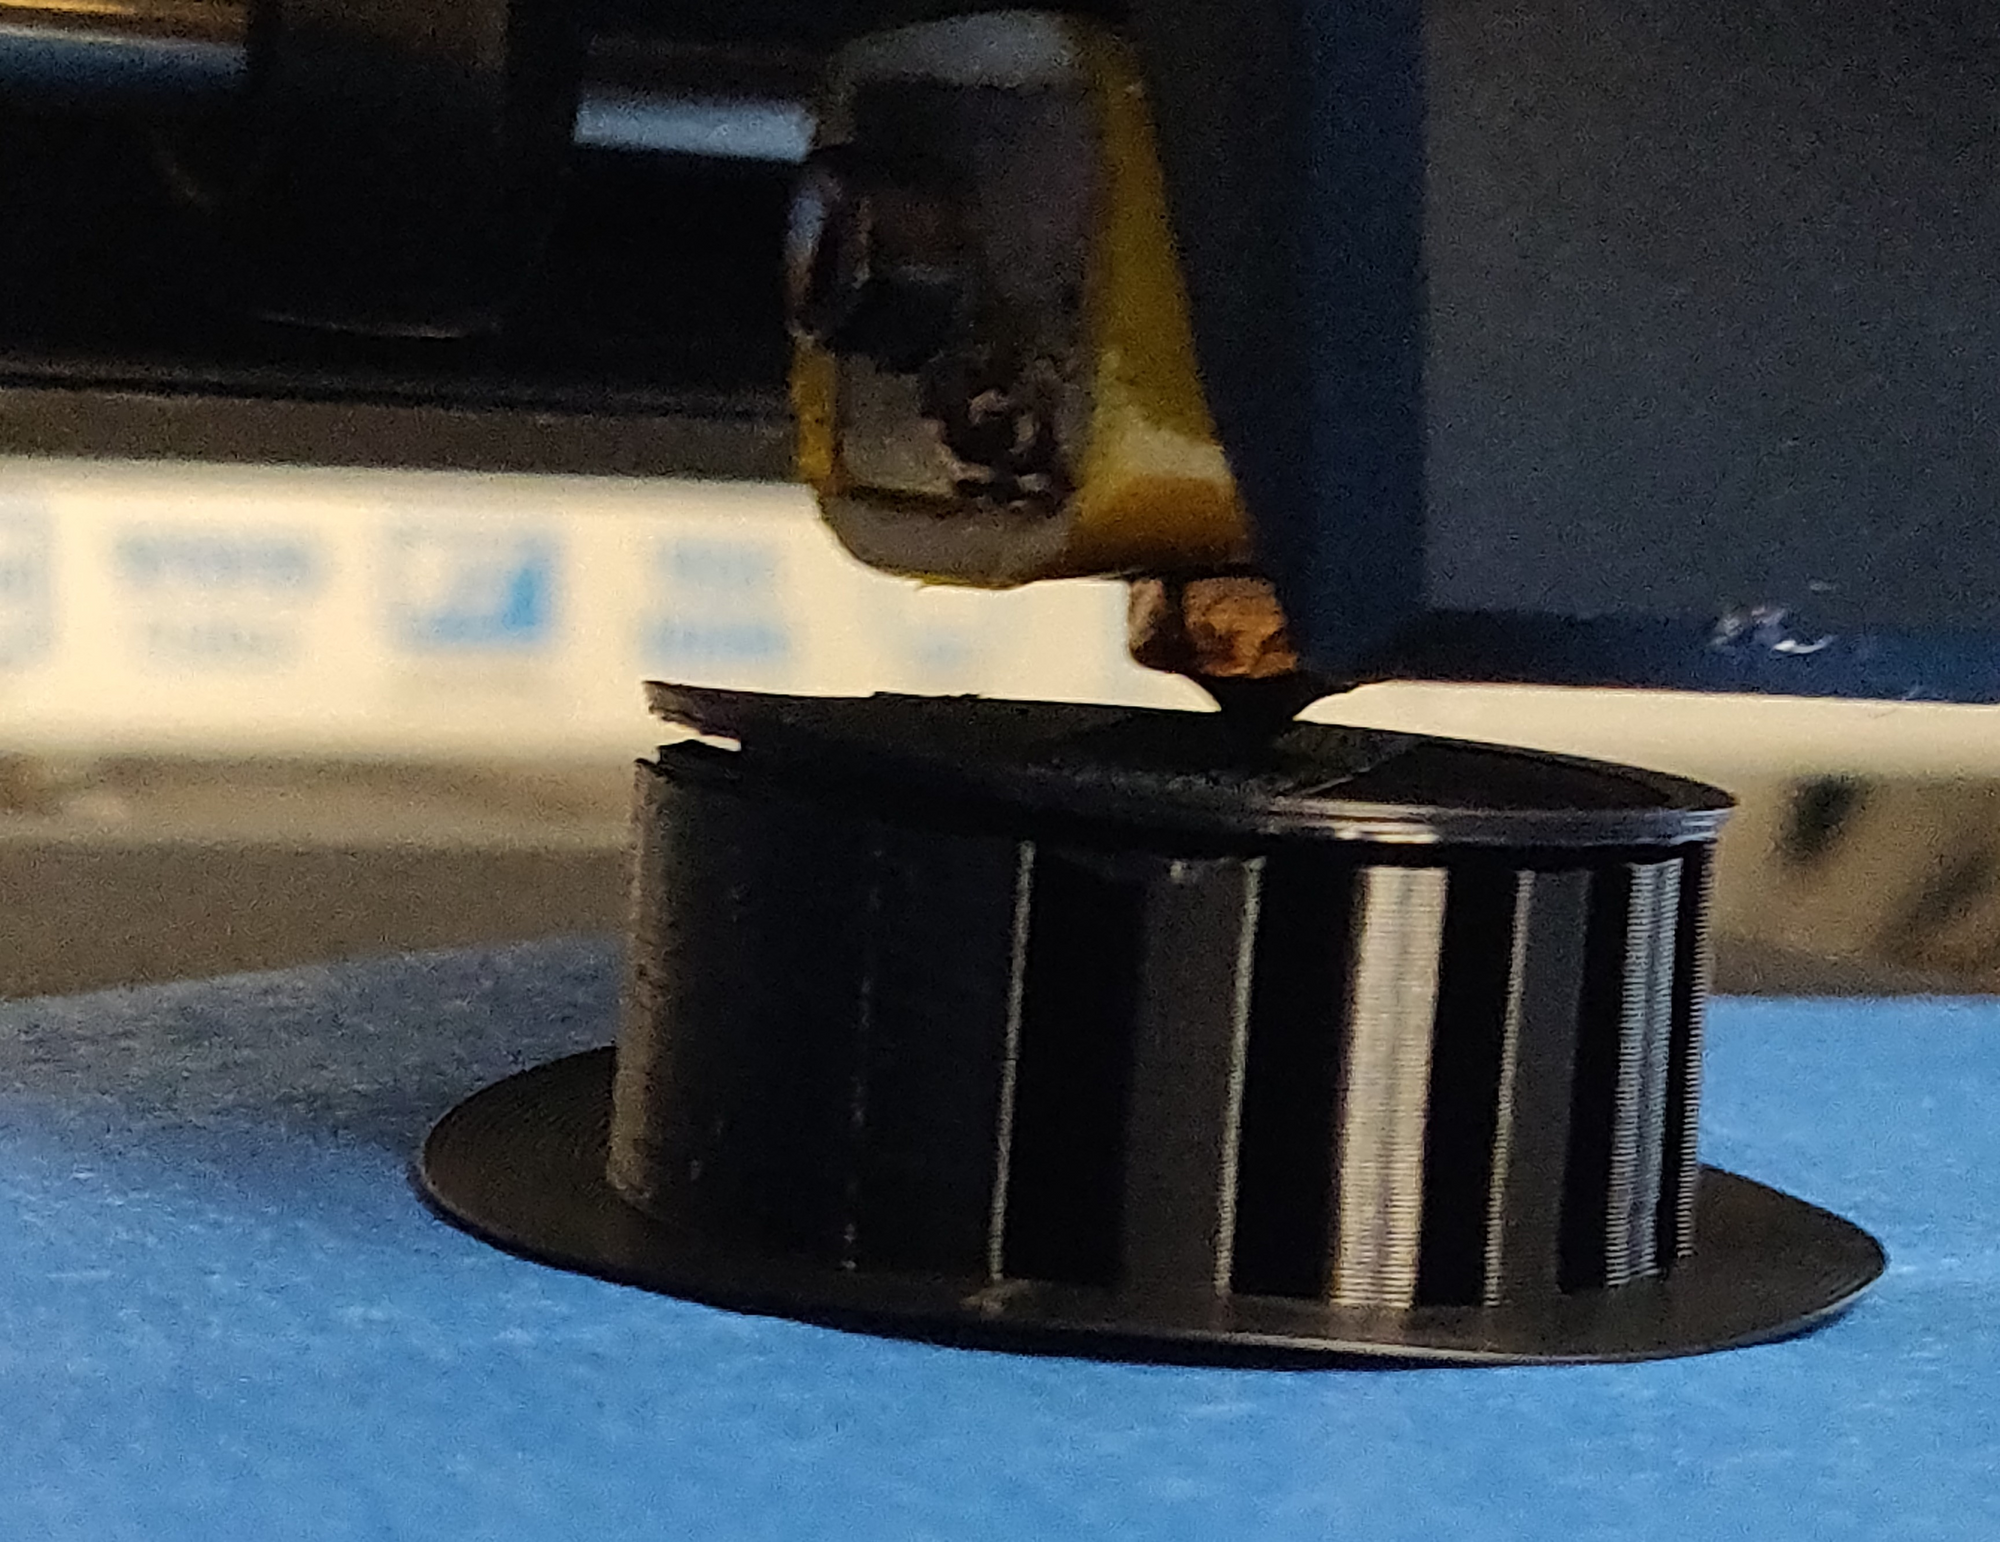
Which printed correctly, and managed to turn the temperature up to the target of 400 degrees! And then back down to ~250 degrees, before the key snapped and the dial was useless. Had I printed the dial sideways it might have had better results (so that the pressure wasn't being applied across a single printed layer) but I did not, and I did not try it again to find out. Instead, I decided to break away from the original dial's design and expand on the OpenSCAD design a bit. I knew that I was going to potentially need to print a few models to get the "key" correct, and most of the printing time is in printing the top portion of the dial. The first attempt at the new key was a failure due to me not centering properly, but the third design at least proved I was on the right path:
The third print didn't quite fit properly, but at this point I was convinced that it was absolutely the right design to go ahead with. The fourth print fit over the screw-like dial (loosely) and I figured that was good enough for the time being as it meant I could retire the screwdriver back to the toolbox it came from. Unfortunately, The dial's key isn't a 90 degree rotation from the upright position, and I initially rotated it the wrong way. Two prints later, I had a "working" dial. For the time being, job done. Back to enjoying toasted sandwiches.
The dials worked beautifully - toaster oven came on, heated up, toasted the sandwich - I took the food out and turned the oven off. Except I didn't - I turned the dial to off, but the toaster oven didn't turn off. And then the dial slowly went back to "Bake" on its own.
Turns out the dials get quite warm during the toaster oven's operation, and the PLA was melting. Instead of turning the dial, I was twisting the plastic of the dial's stem around in its softened state. Not a big deal, pulling the power plug meant the toaster oven was off and the dials were turned back once they had cooled off. It did however mean that I was back to having 0/2 replacement dials working.
If you haven't already, now would be a good time to skim through this post if you want to try and keep the whole story somewhat in order.
Once I had purchased, switched over to, and configured the printer for ABS, the first dial was simple to reprint. It had a bit of an issue with curling while cooling mid print, but functionally it doesn't cause a problem. Until I went to put the dial on the toaster oven, and found out that I had assumed the rotation of the key initially and was off by one item on the dial. I was always pointing one item to the right of what setting was actually on. No idea how I managed that.
As this was going to be the "final" version of the dials, I wanted to get the sizing of the last dial absolutely correct. Some quick measurements with digital calipers gave me some measurements to work with, and I printed out the final dial.
Except it didn't fit.
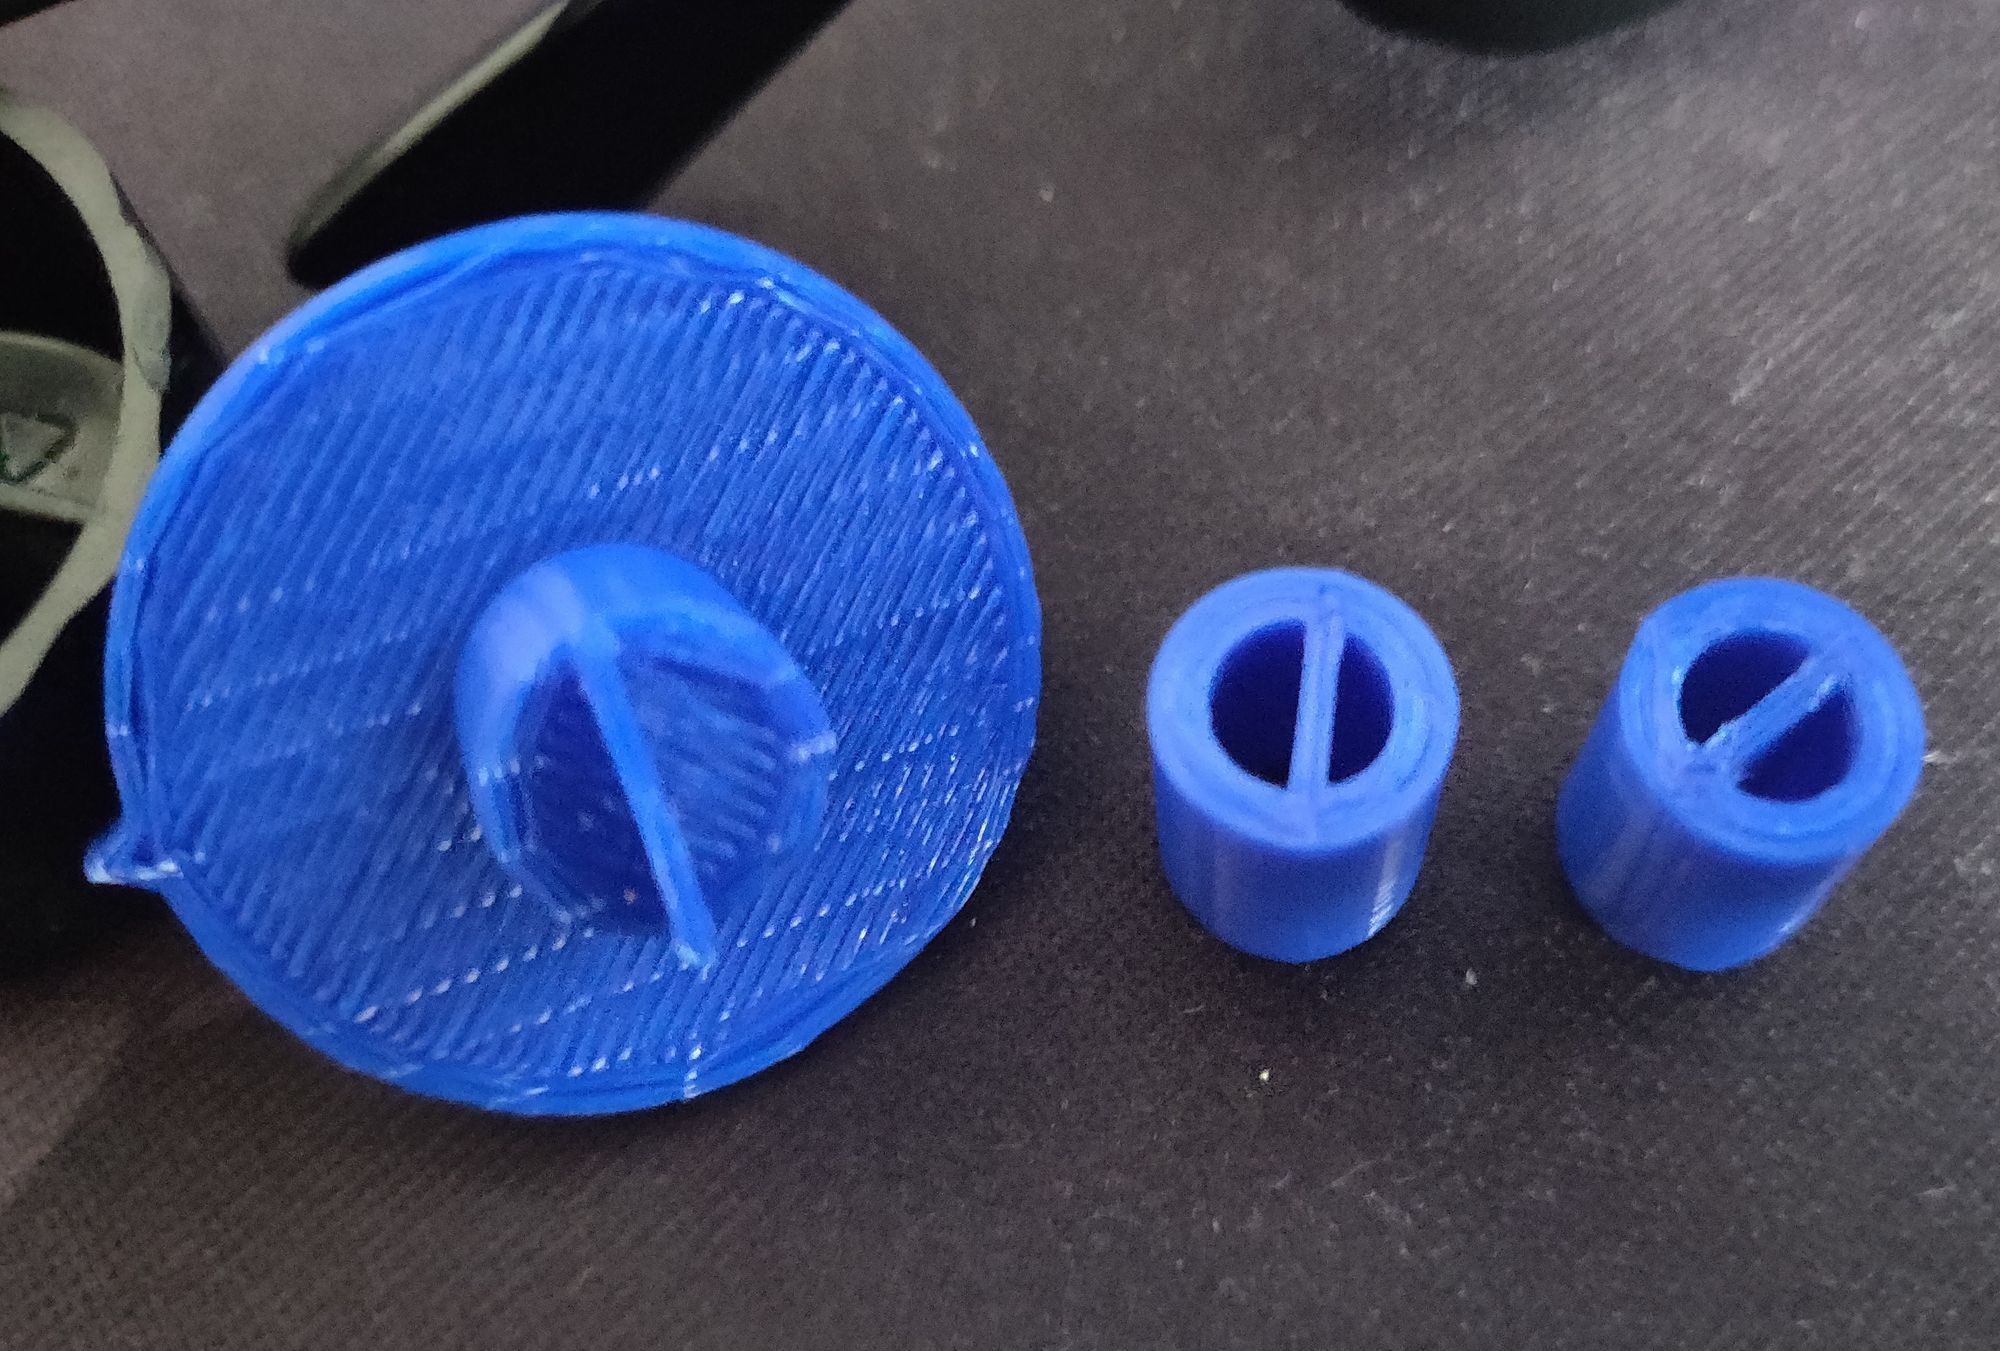
Not quite sure where that went wrong - possibly the nozzle on the 3D printer isn't fine enough for the measurements or something like that. Instead of fret with figuring out why the measurements were off I took the brute force approach - I sized and printed off the next 10 sizes in 0.1mm increments. And that's where the following photo came from:
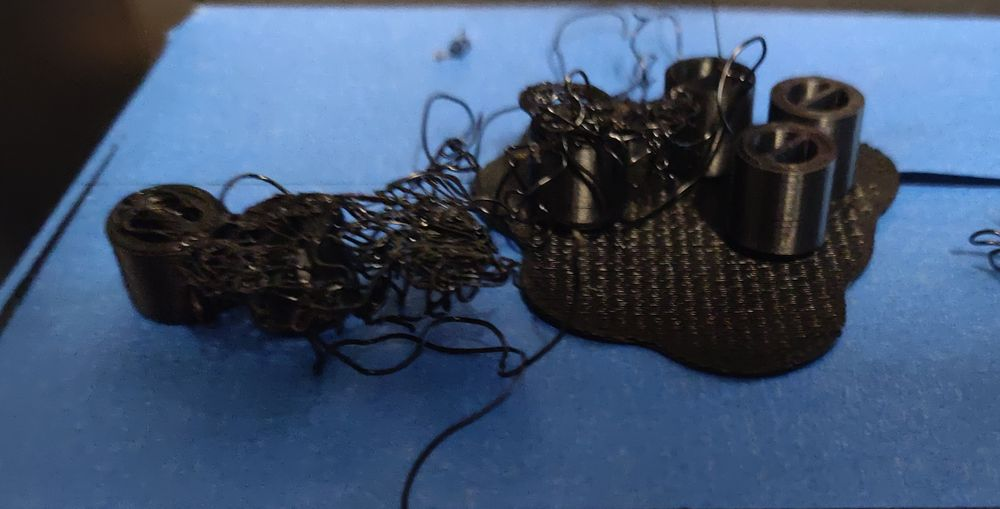
However, thankfully, one of the ones that did survive fit perfectly. At long last, I had the right size for the final dial measurements, and this "quick fix" turned week-long project was nearing its end.
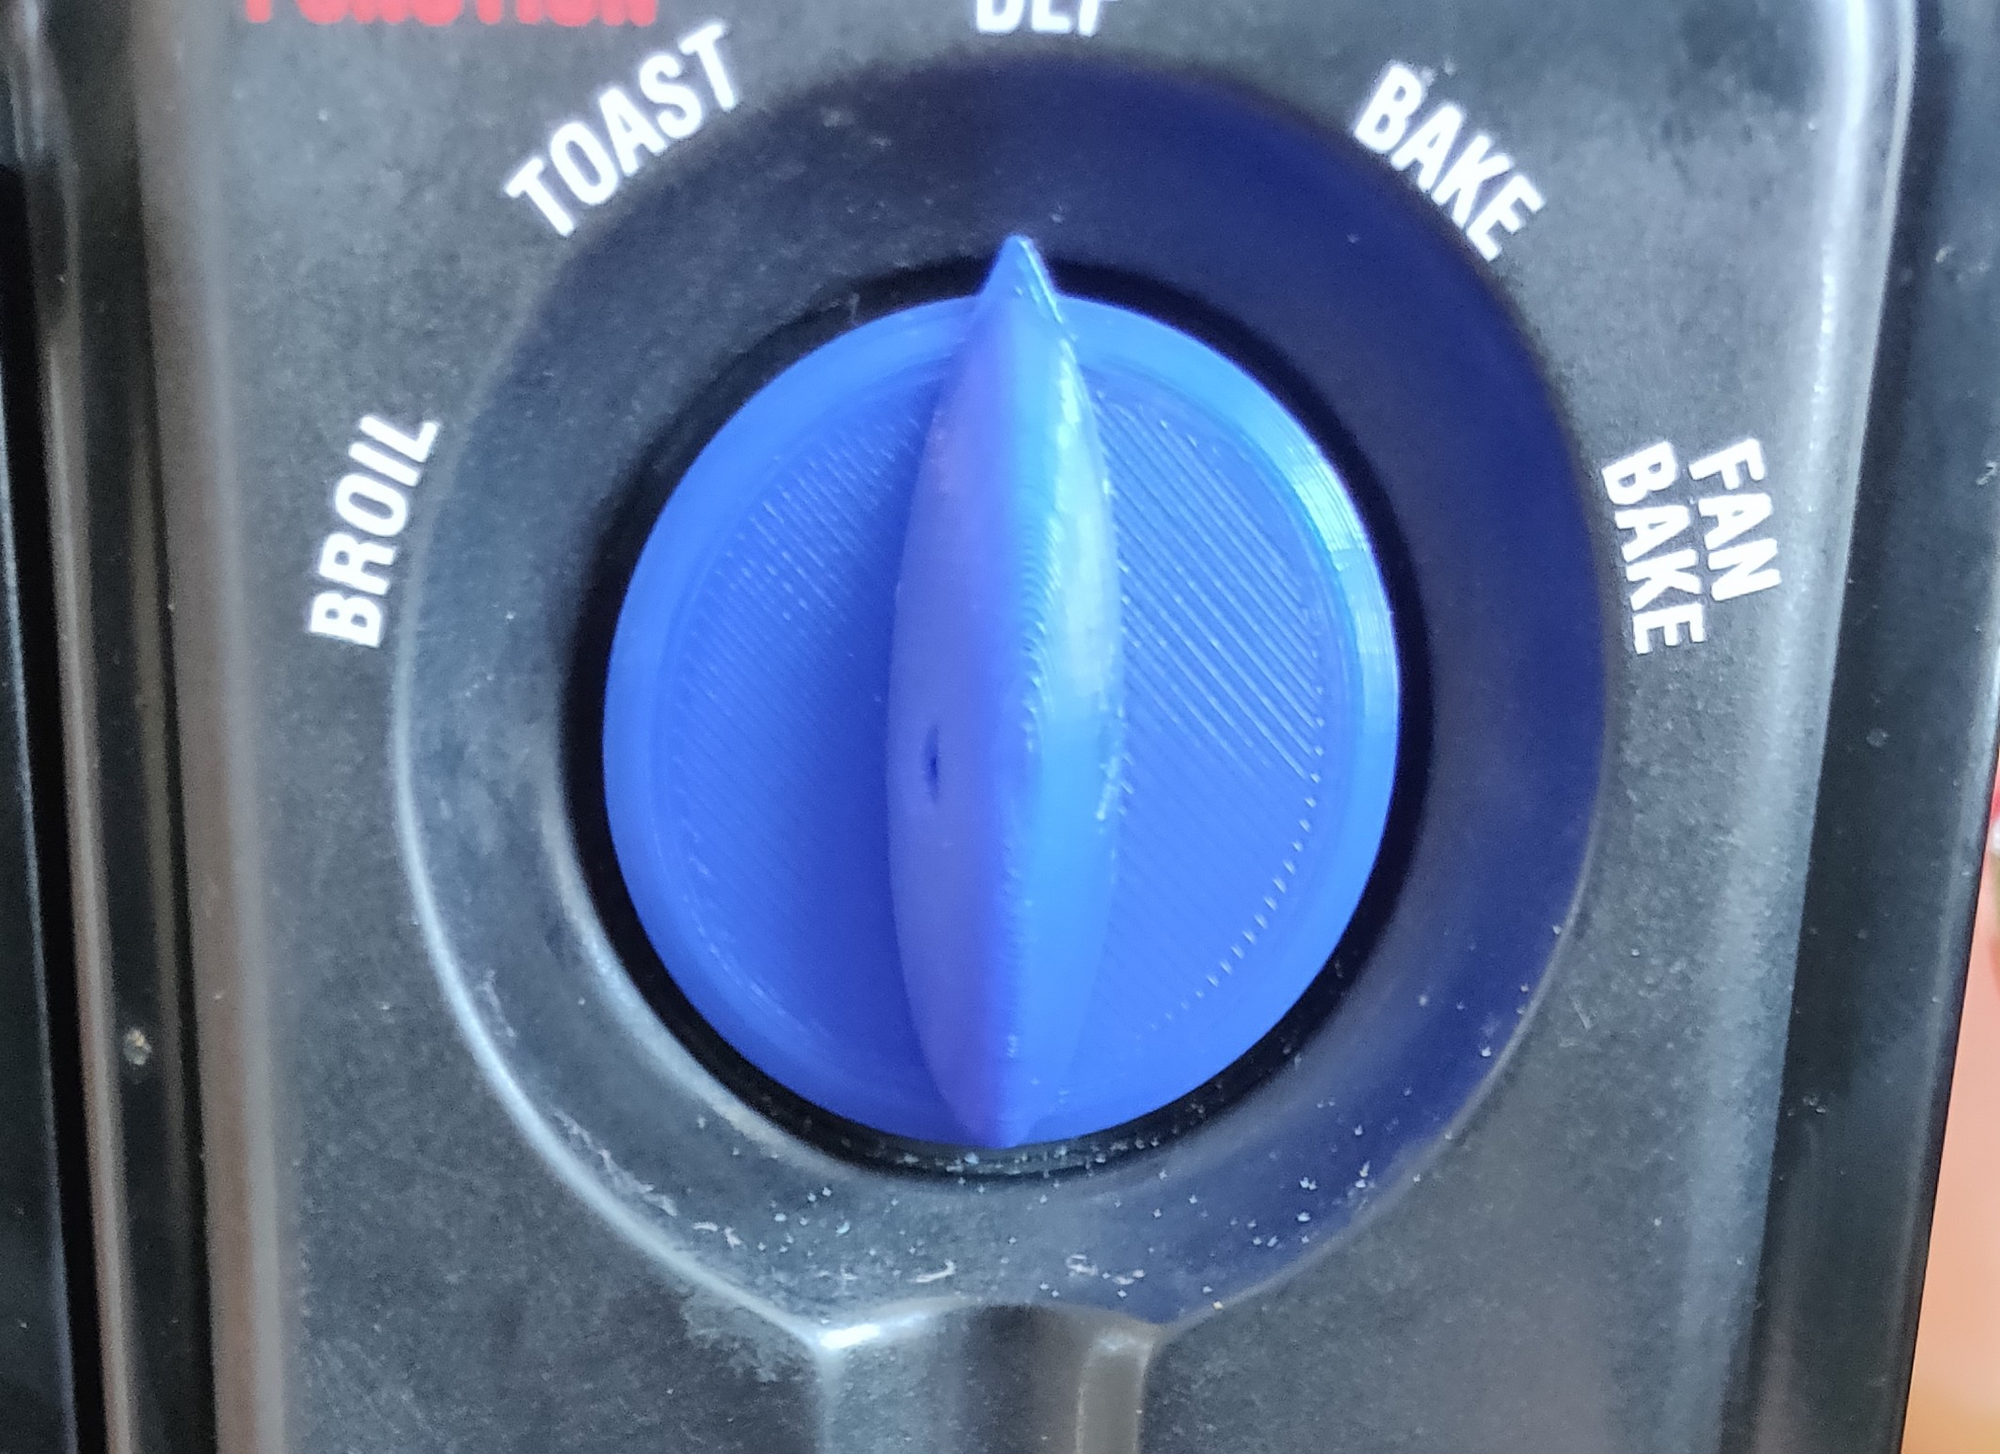
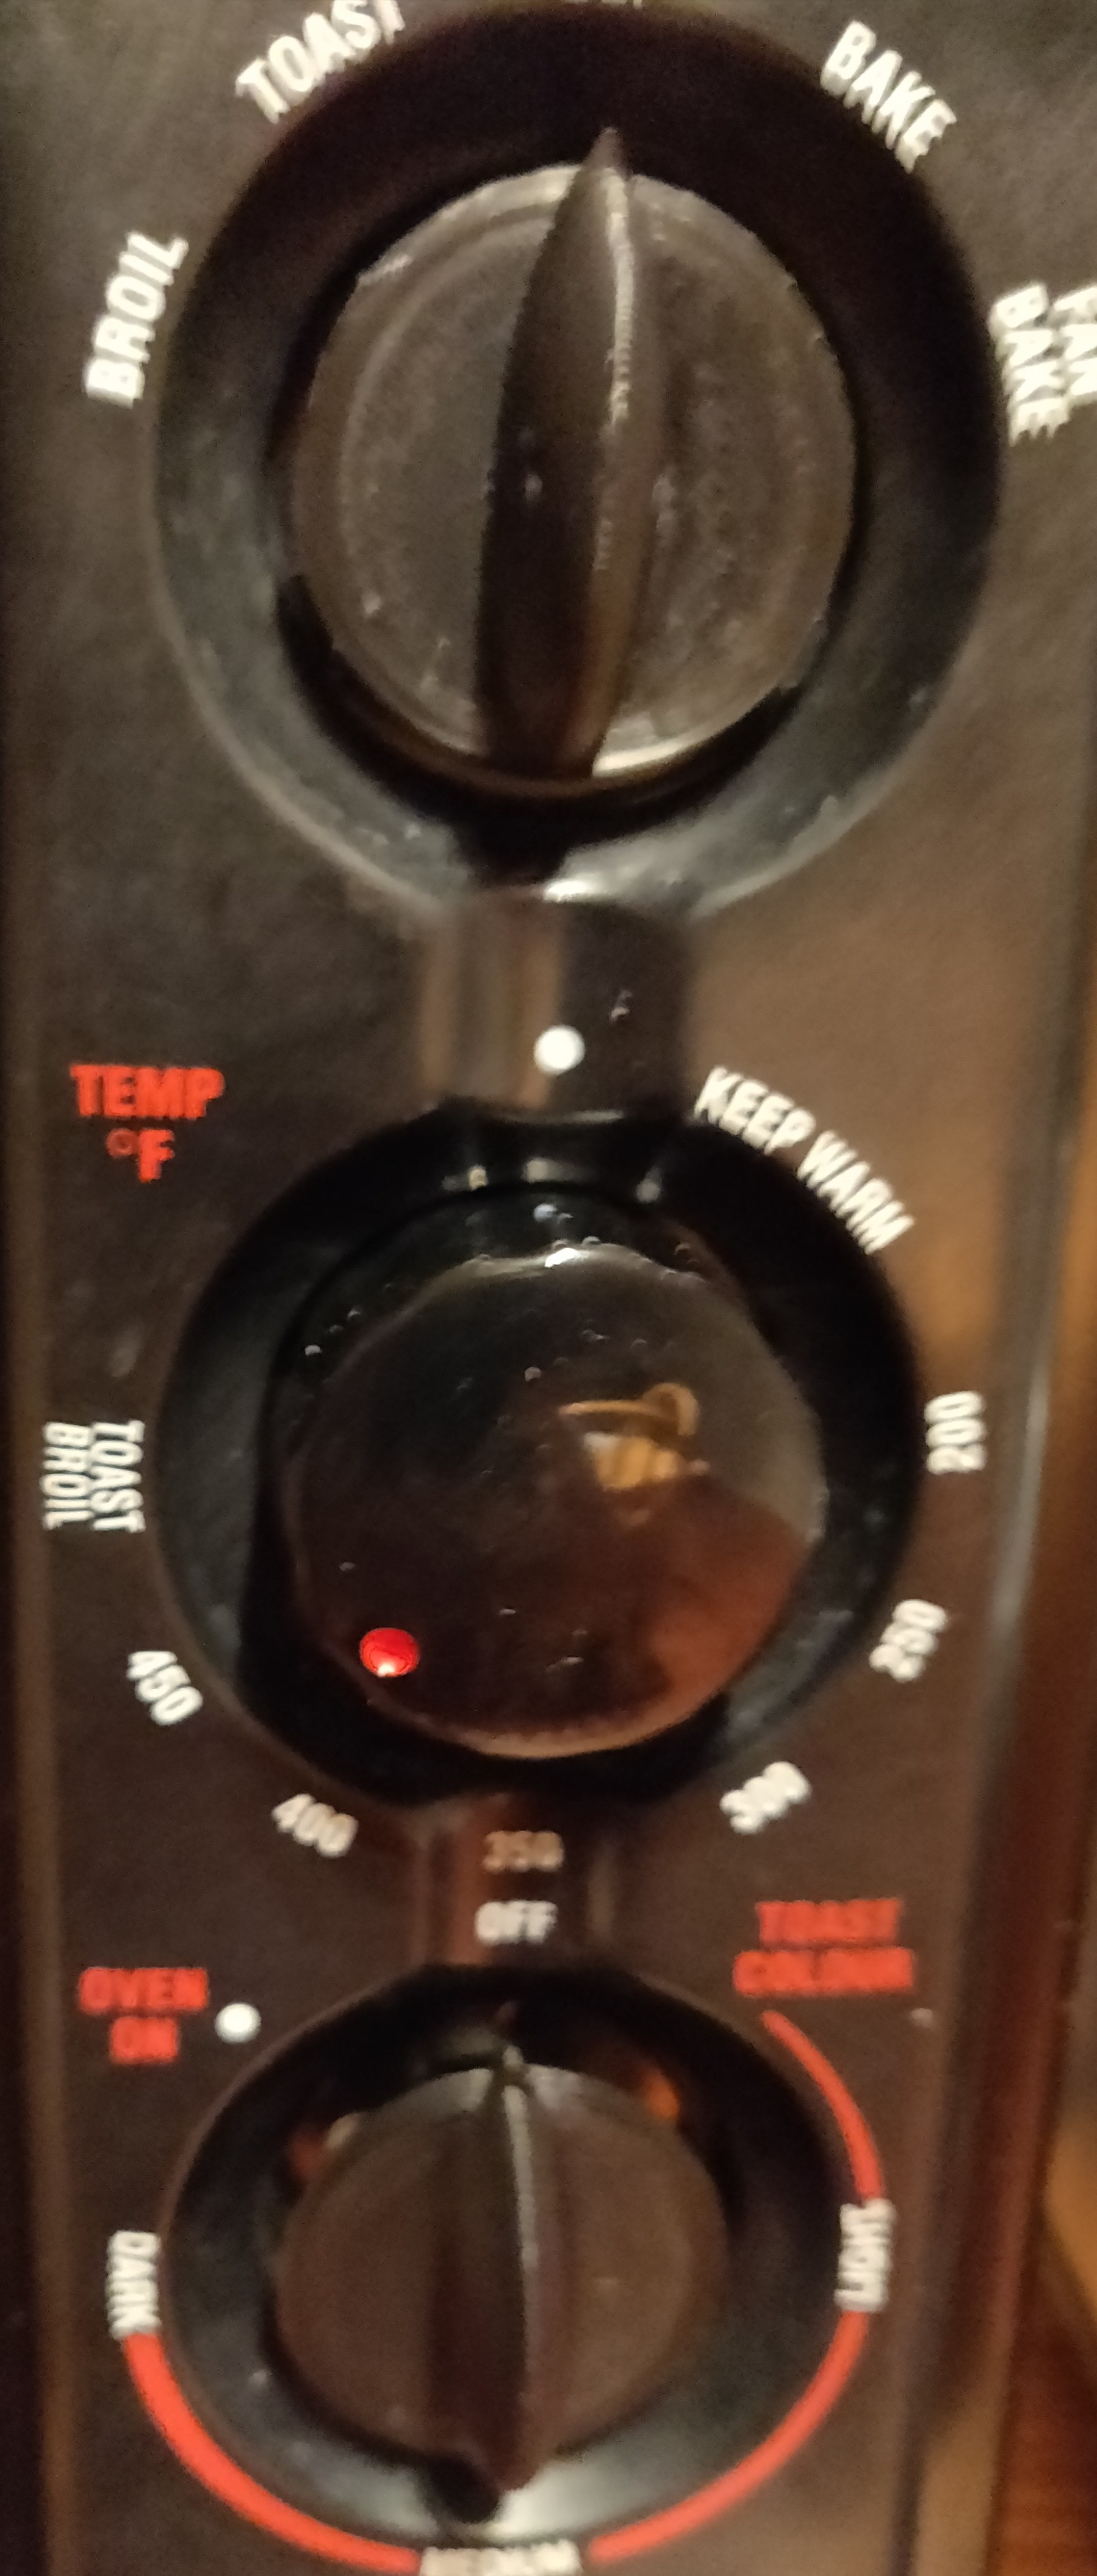
Finally, Second dial v10.scad was ready to go, and everything lined up as it was supposed to.
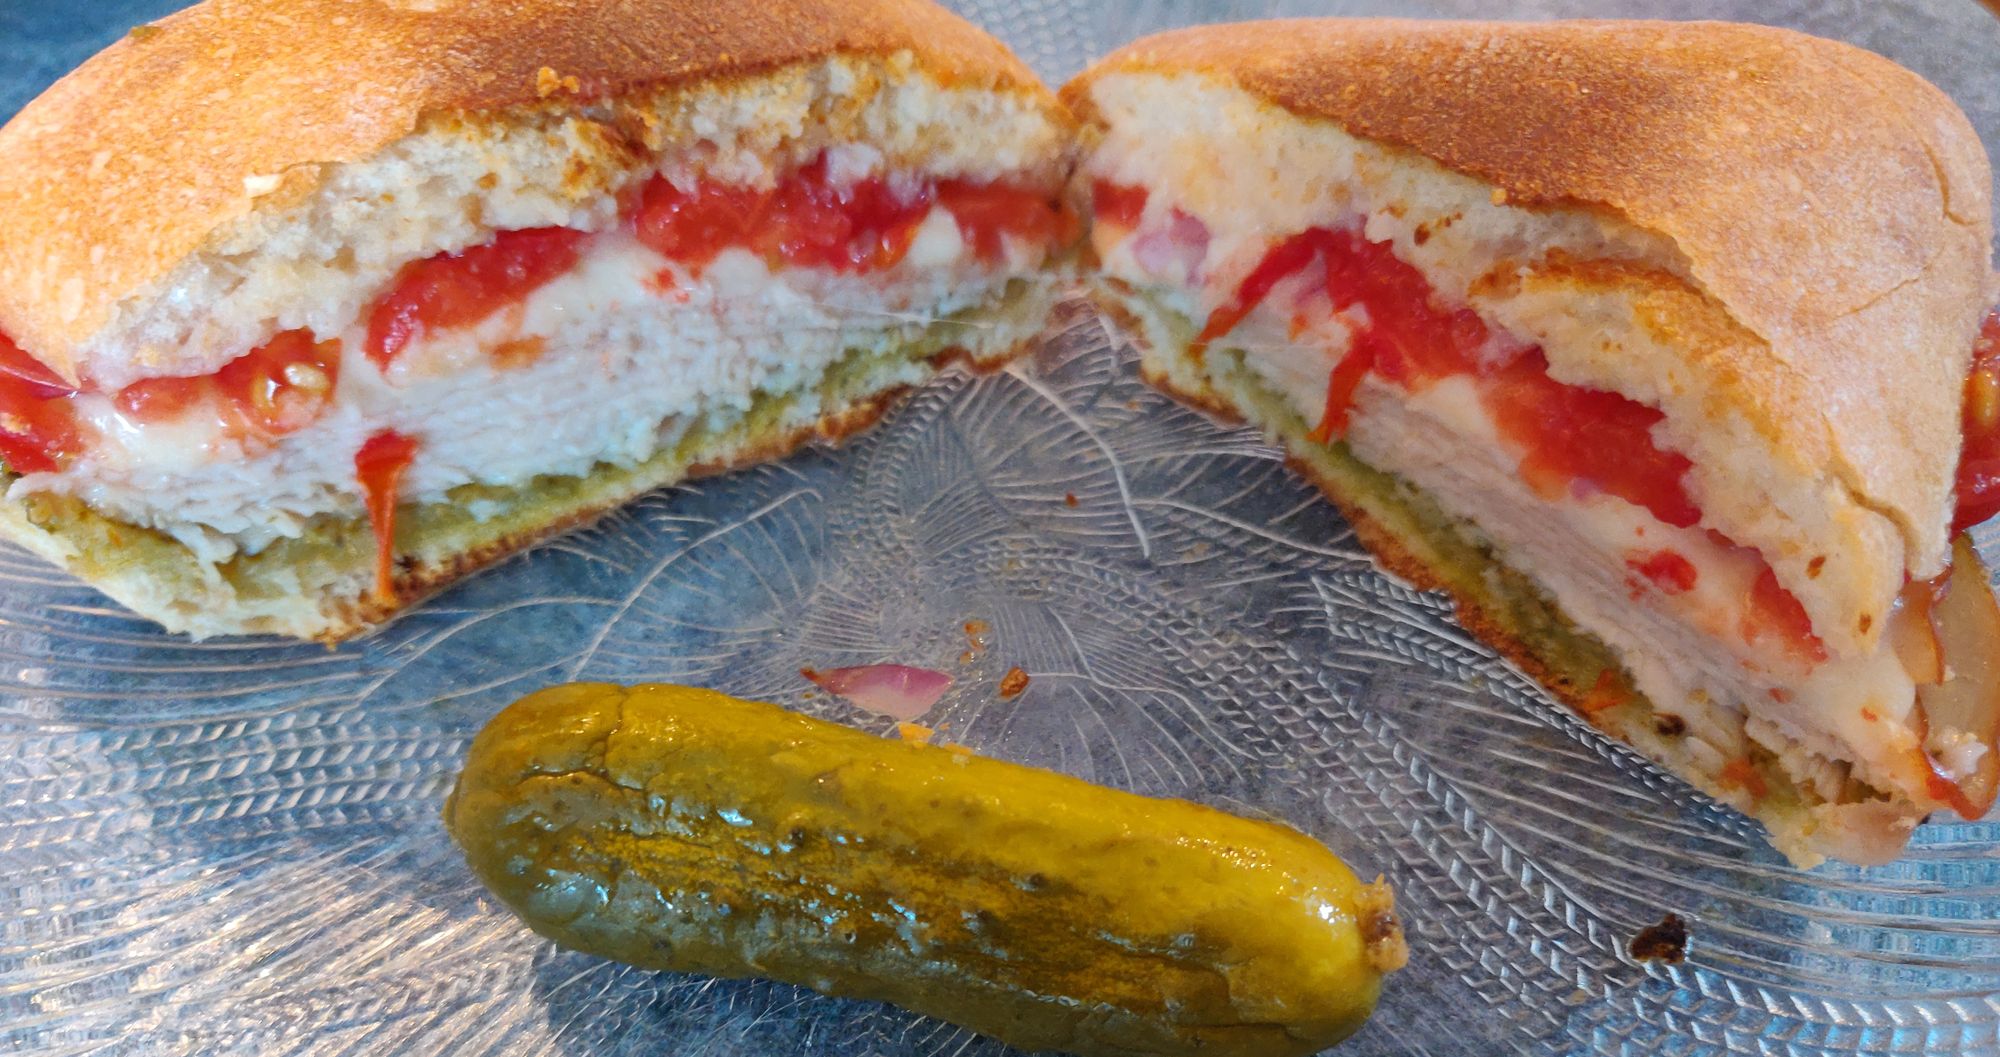
Toasted sandwiches are officially back on the lunch menu.
Toasted turkey and provolone sandwich with pesto mayo for good measure:
Have the same toaster oven problems? The final .scad and .stl files are available at https://github.com/tharbakim/Salton-Oven-Dials